Metro Exodus Frame Breakdown
General notes
All results have been acquired on a pretty old setup(i7 3770+RX 480) running on DirectX 11 with extreme quality and using RenderDoc and Nsight. I don’t have an RTX card so the fancy features aren’t covered.
I learned a lot from this breakdown and hope you will too.
I couldn’t find any material on 4A Engine on the internet, so everything here is an (hopefully)educated guess. I’m covering about 90% of the frame structure here and just the general gist of the algorithms. It’s really difficult to cover more as it would require more experience than I have and time to reverse engineer the shaders.
Warning: images are not linear, I applied a gamma curve in an attempt to improve the visual quality e.g. it’s almost impossible to see anything in a linear depth buffer. I wasn’t consistent so the same image could have different curves applied throughout the post.
Please reach out if you find any mistakes.
Table of content
- General notes
- Table of content
- Frame Structure
- Landscape heightmap extrude
- 3D noise texture generation
- Previous frame mip map generation
- Depth pre-pass
- G-Buffer pass
- Depth buffer HiZ generation with min filter
- AO generation
- Cloud shadow map
- AO filter + cloud shadows
- Screen space reflections pre-pass
- Global illumination
- Sun reflective shadow map
- Light propagation volume
- LPV applied
- Imposters update
- Local lights shadow map
- Screen space displacement
- Ripples update
- Apply sun
- Apply local lights
- Screen space volumetrics
- Emissive materials
- Skydome
- Water
- Combine light
- Apply emissive
- TAA
- Blur
- Lens flare
- Tonemap+GUI
- Conclusion
- Bonus section
- References
- Comments
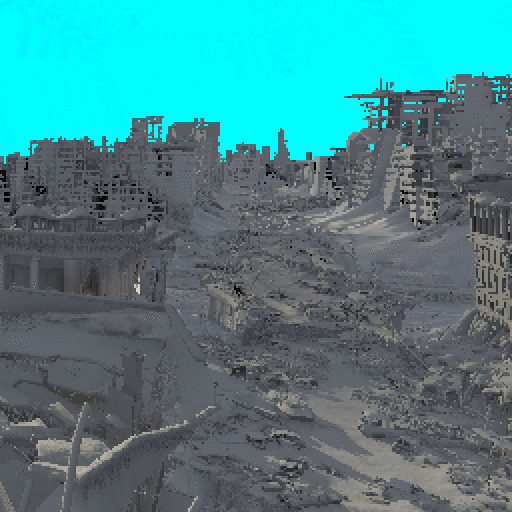
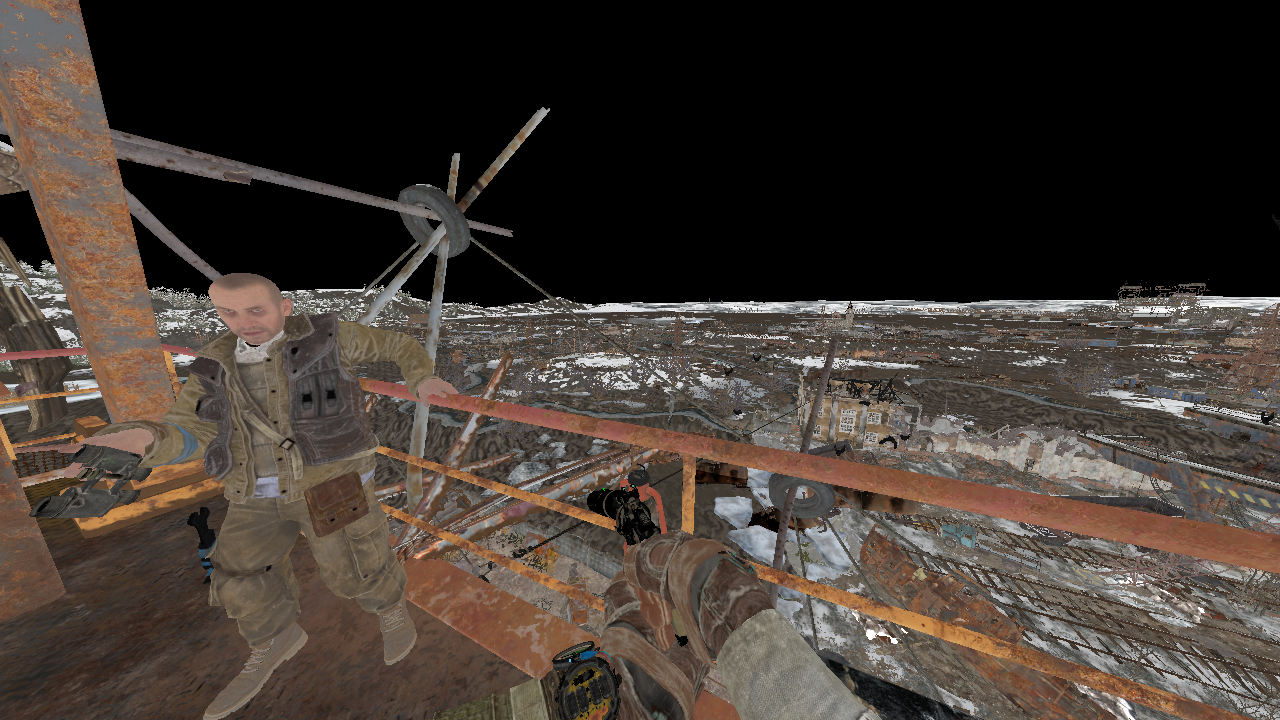
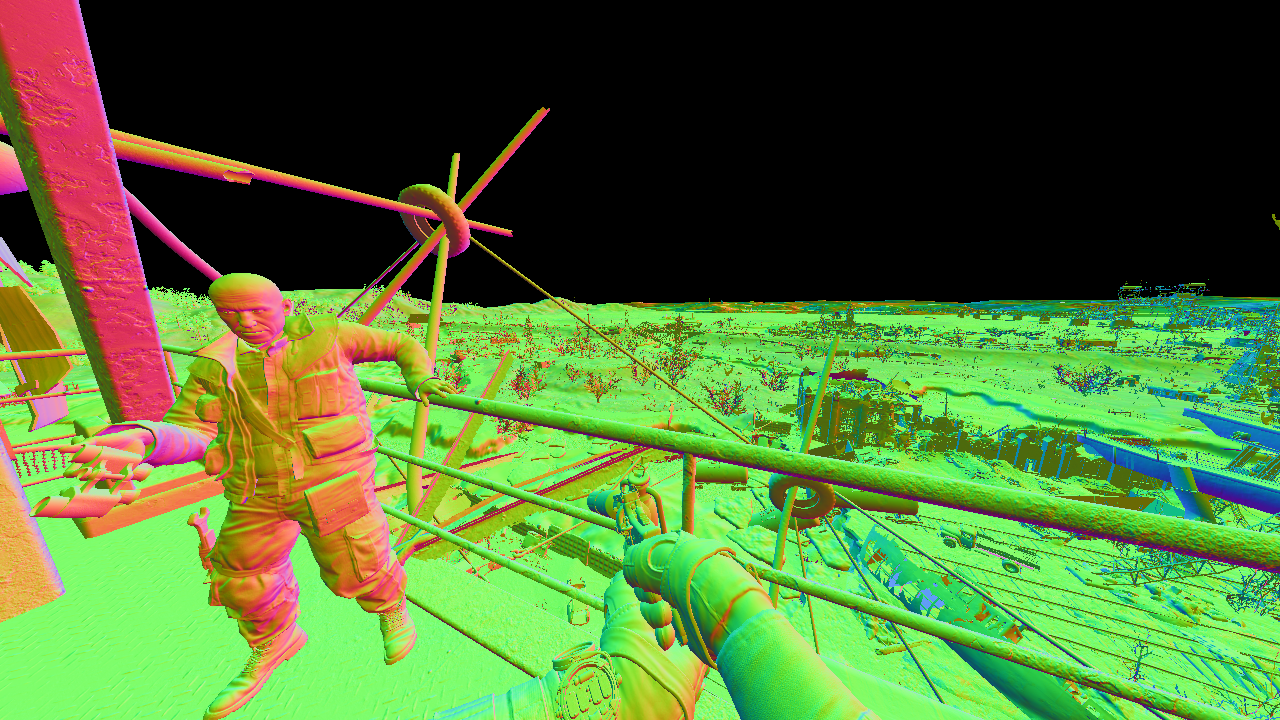
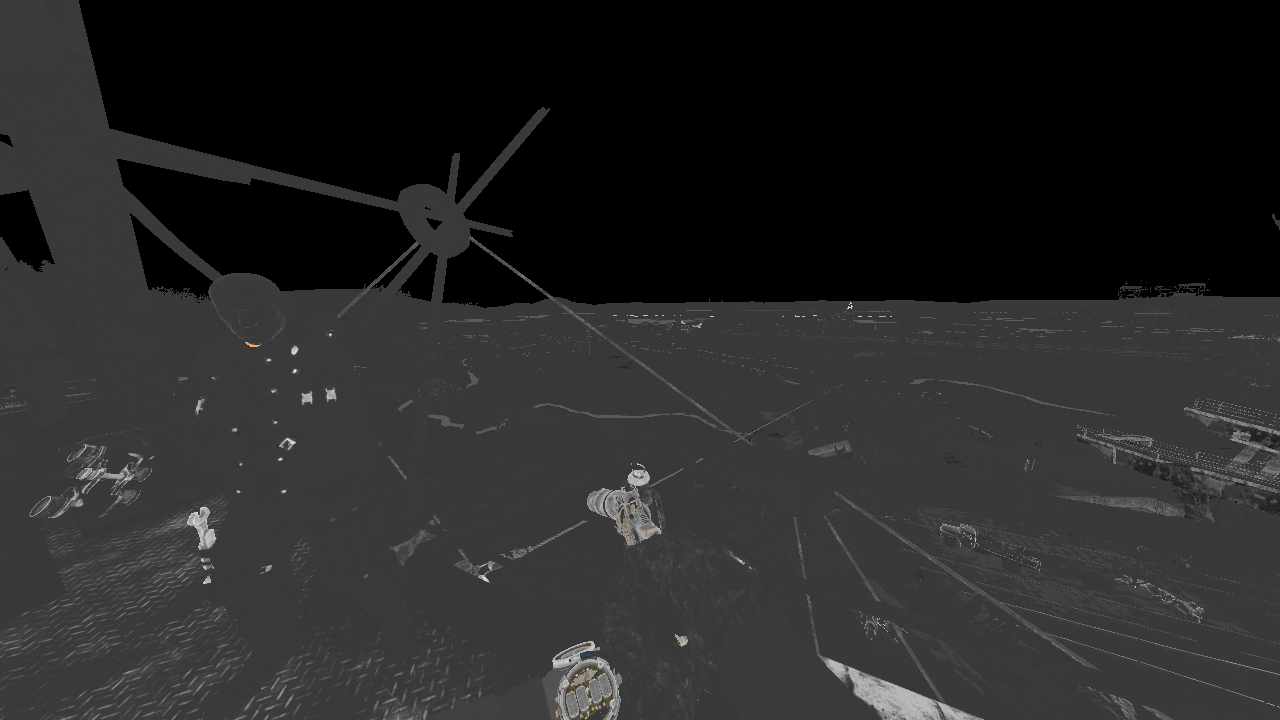
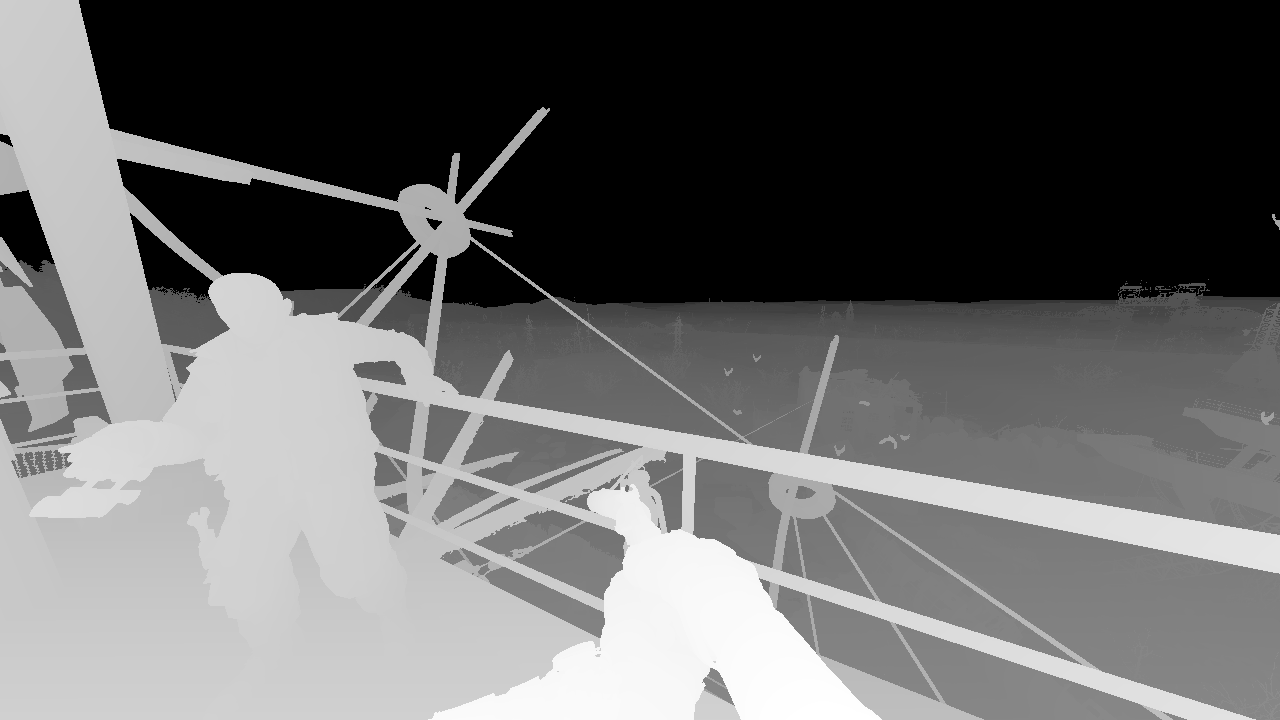
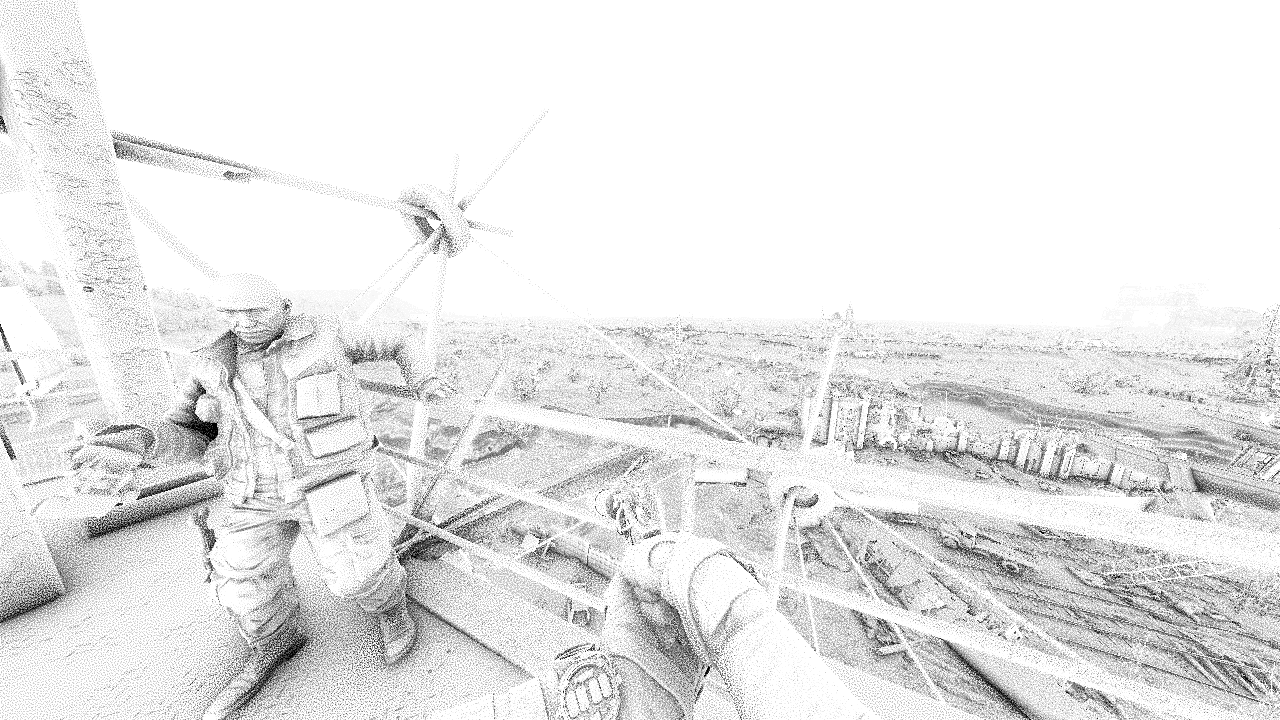
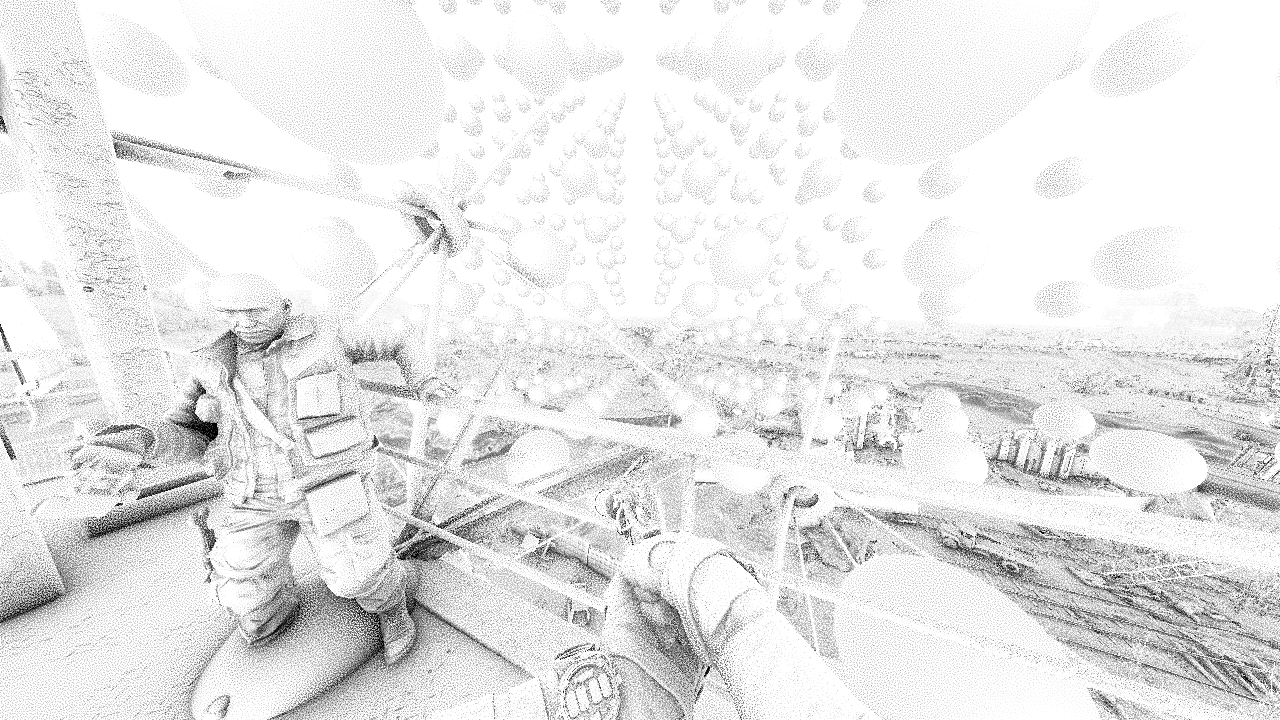
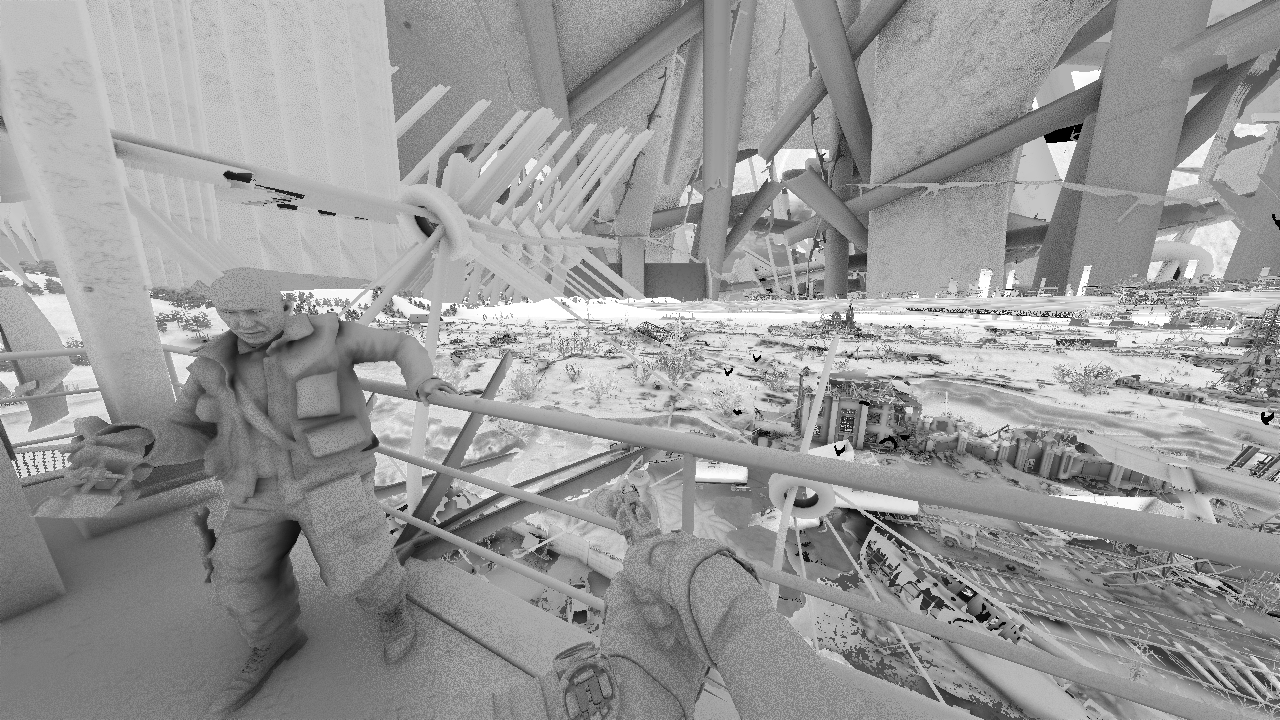
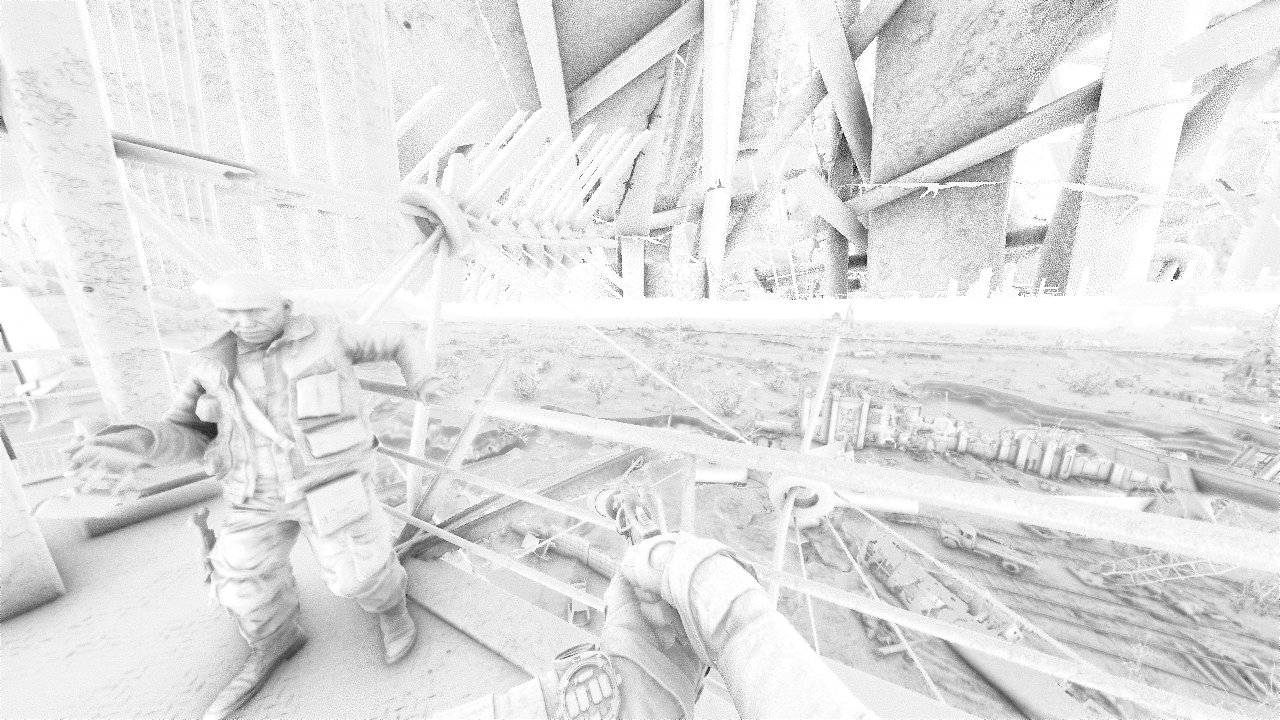
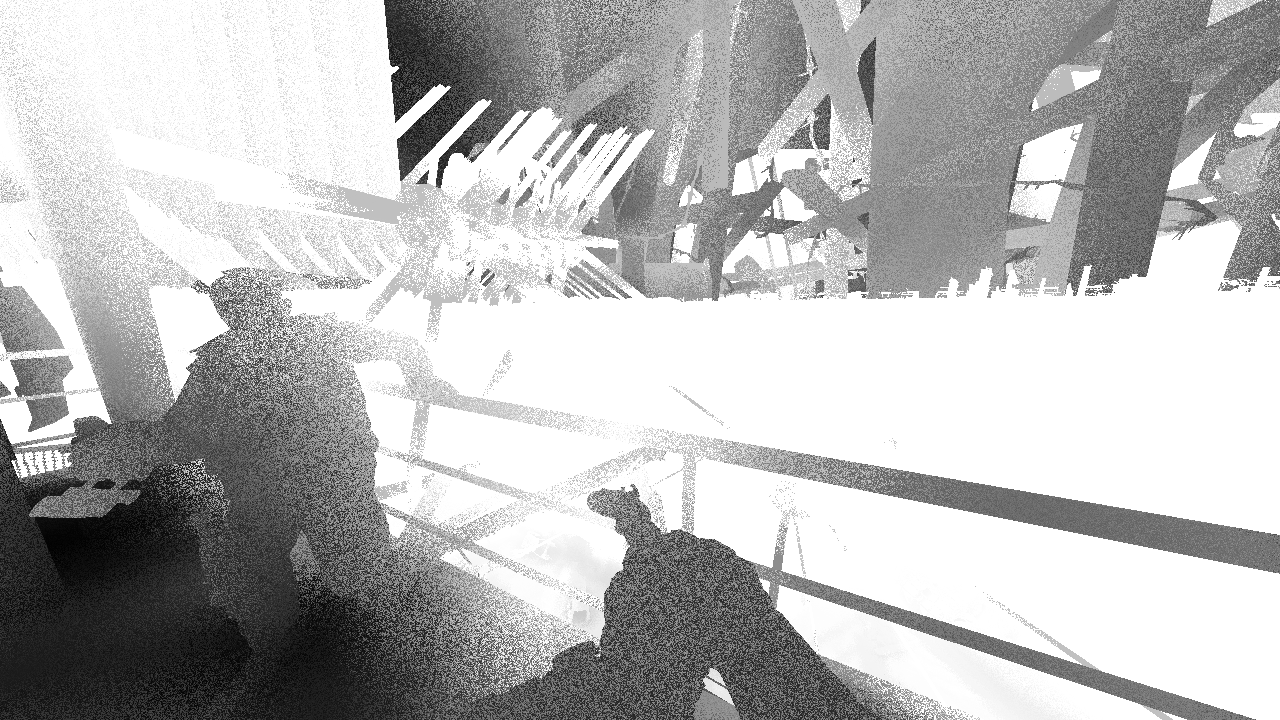
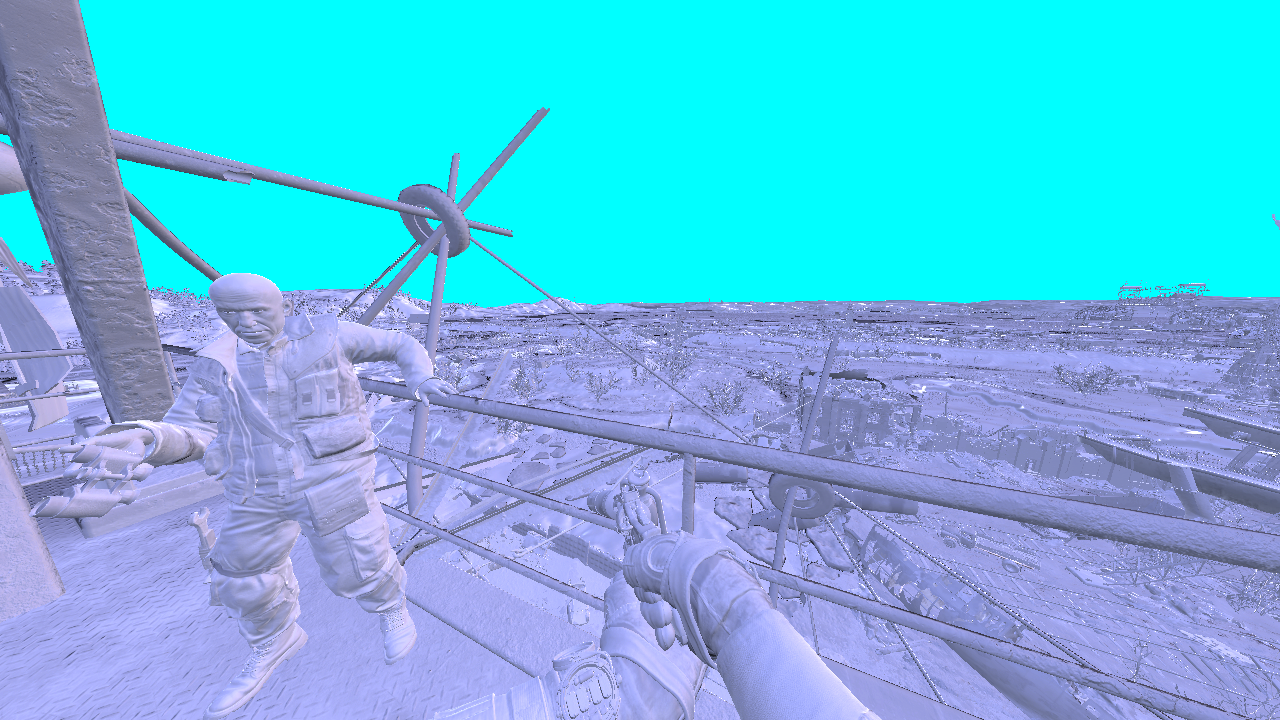
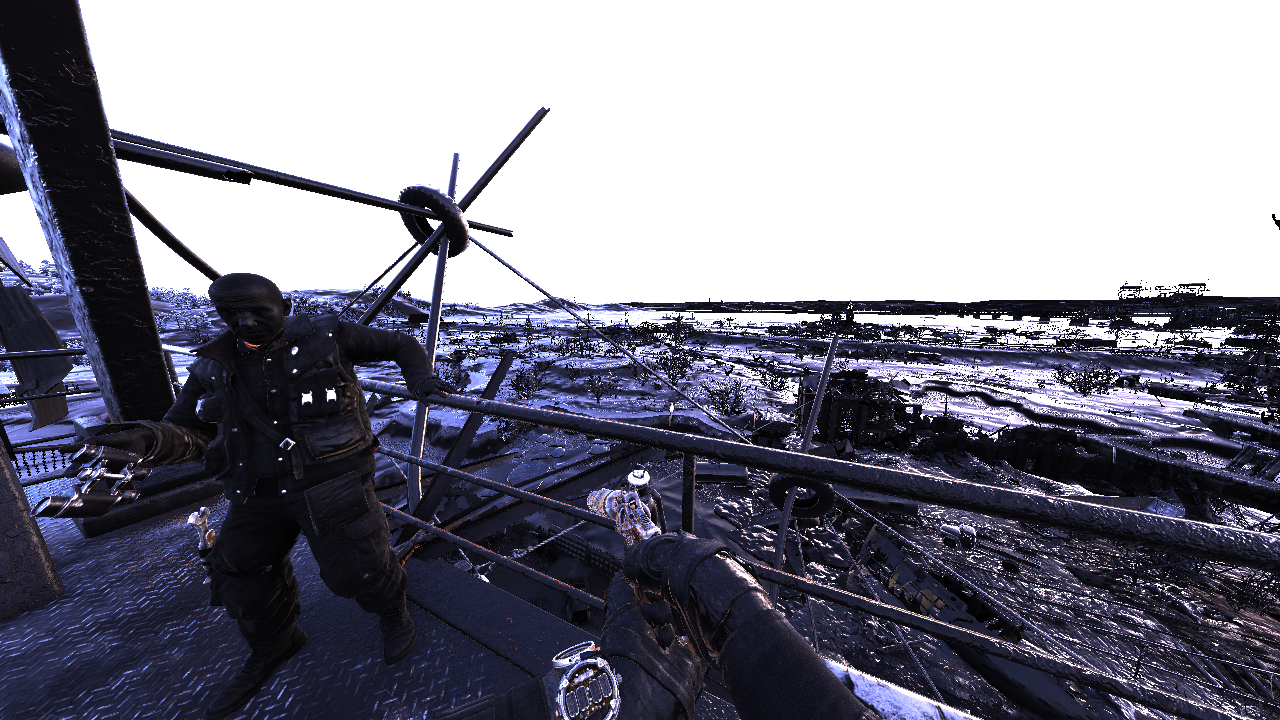
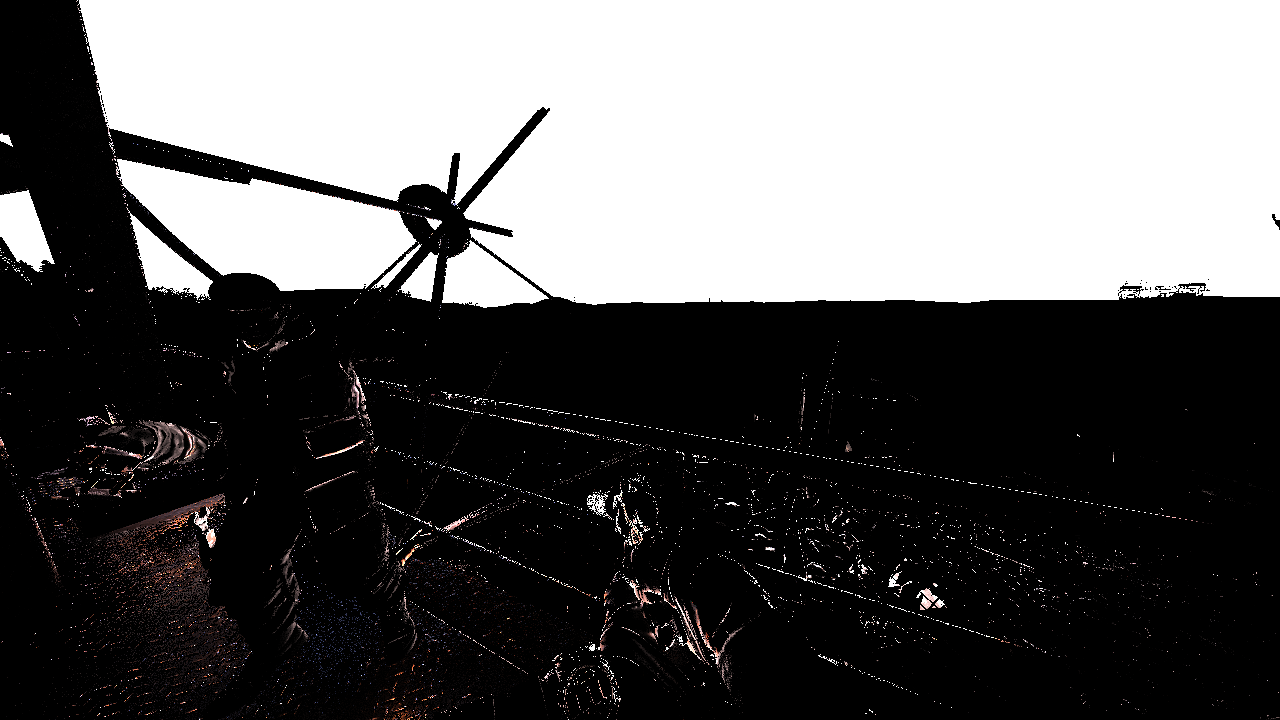
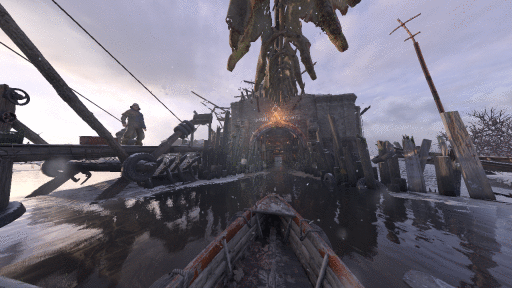
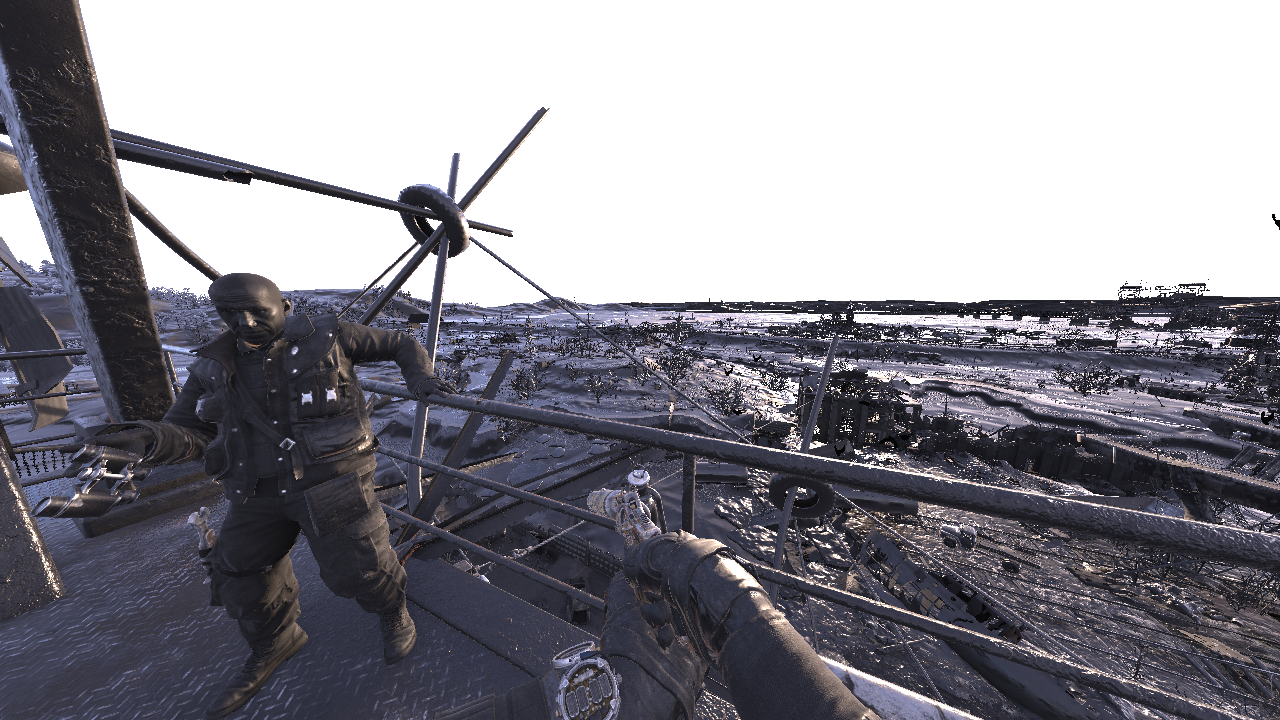
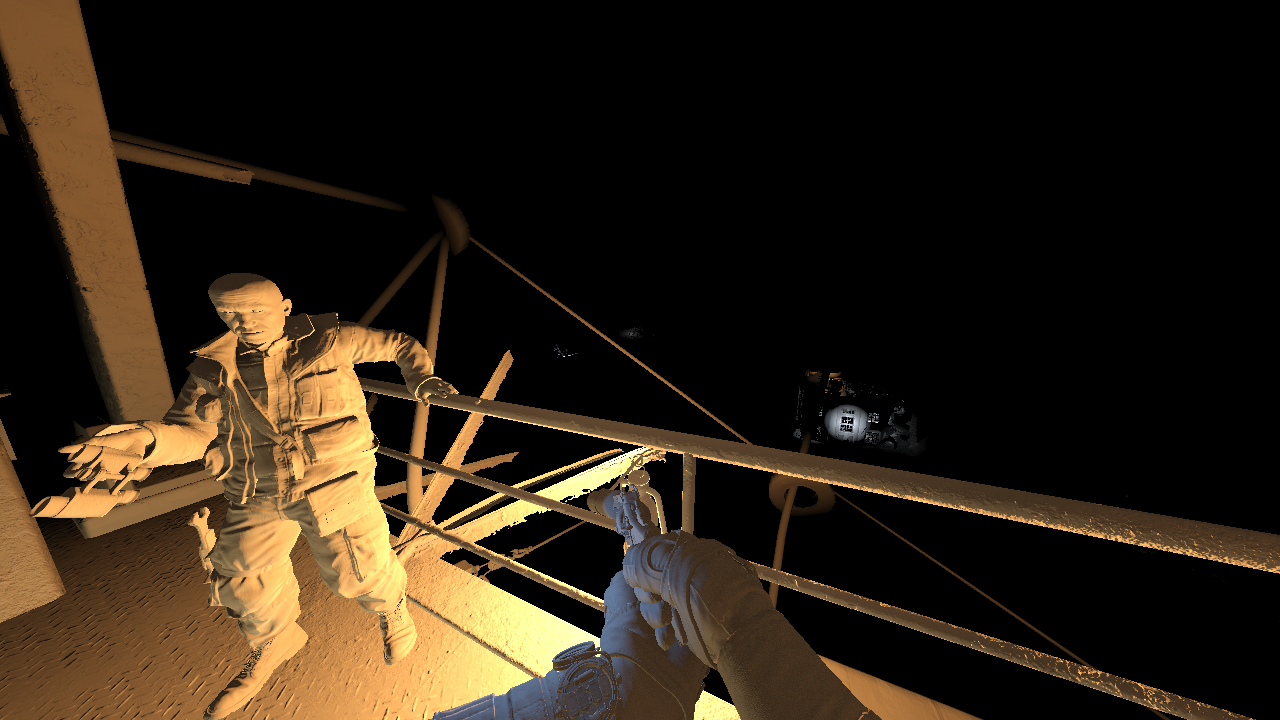
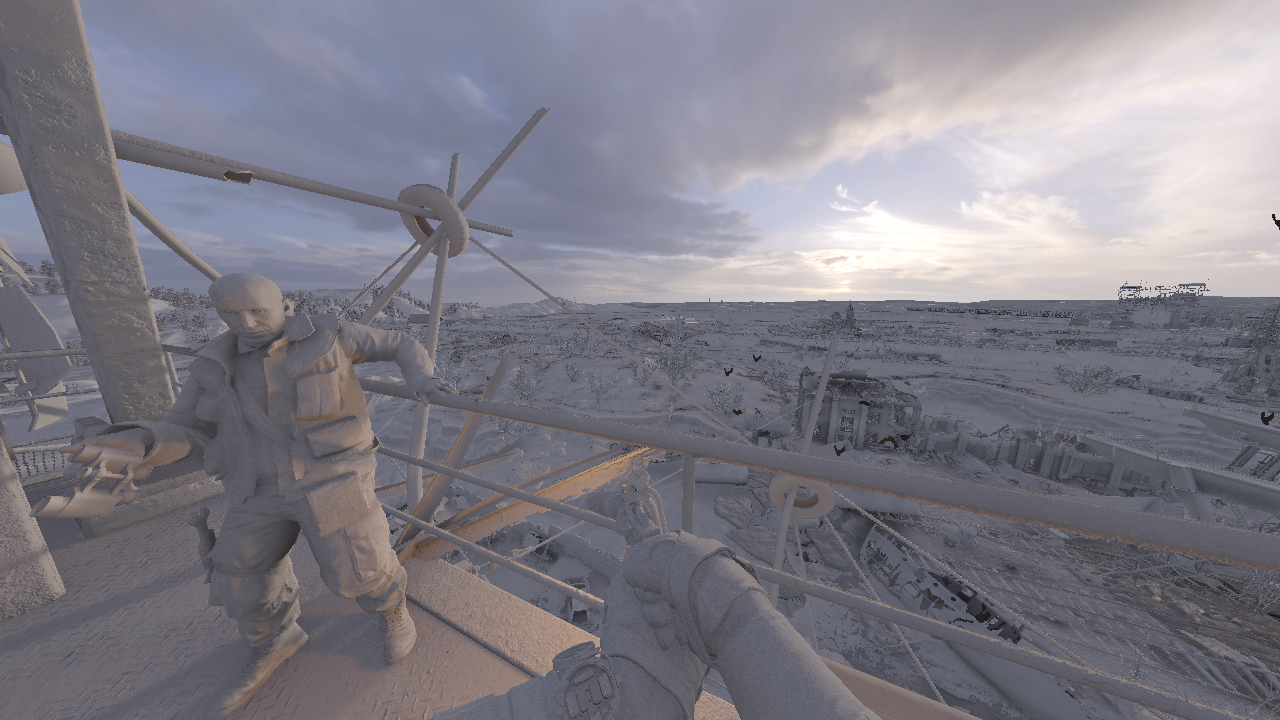
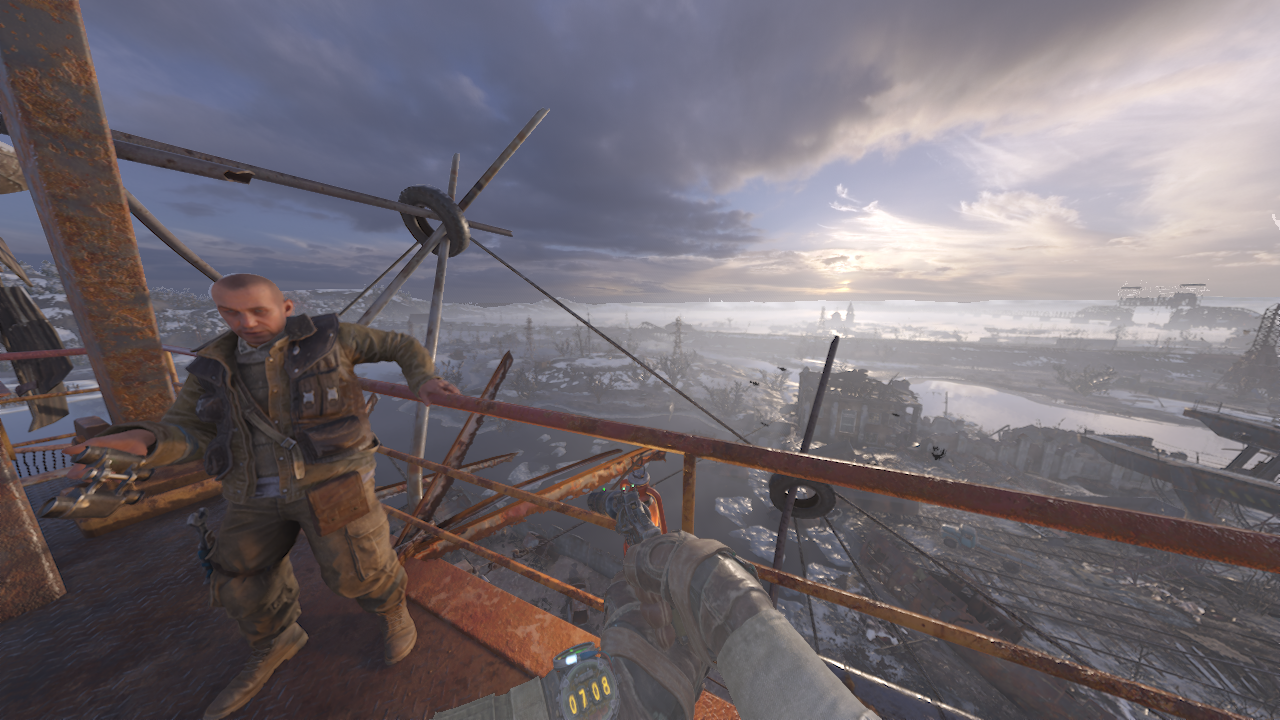
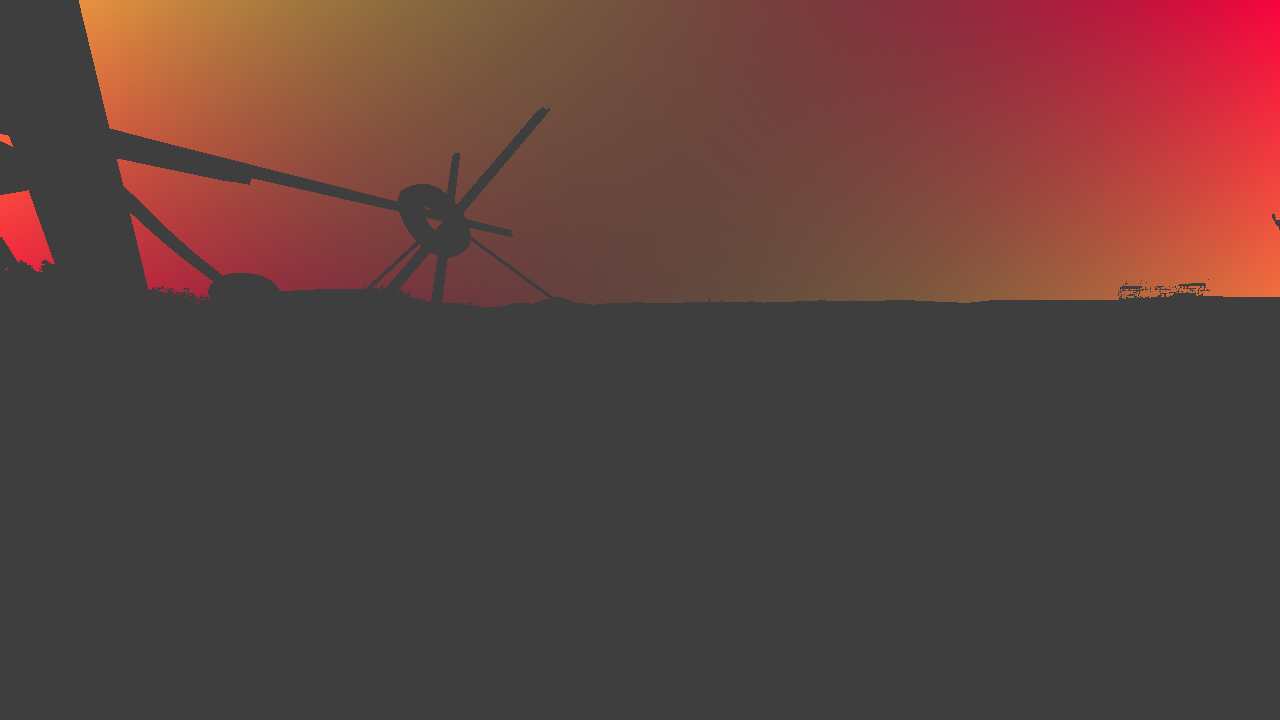
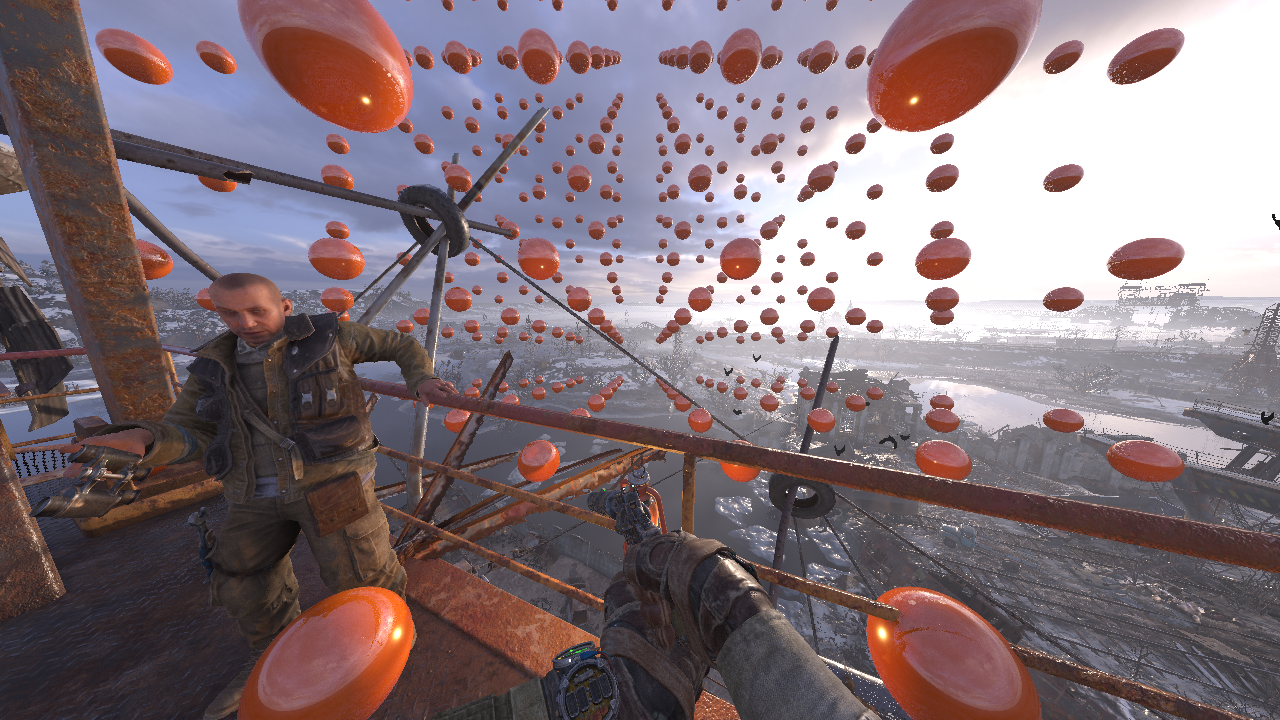
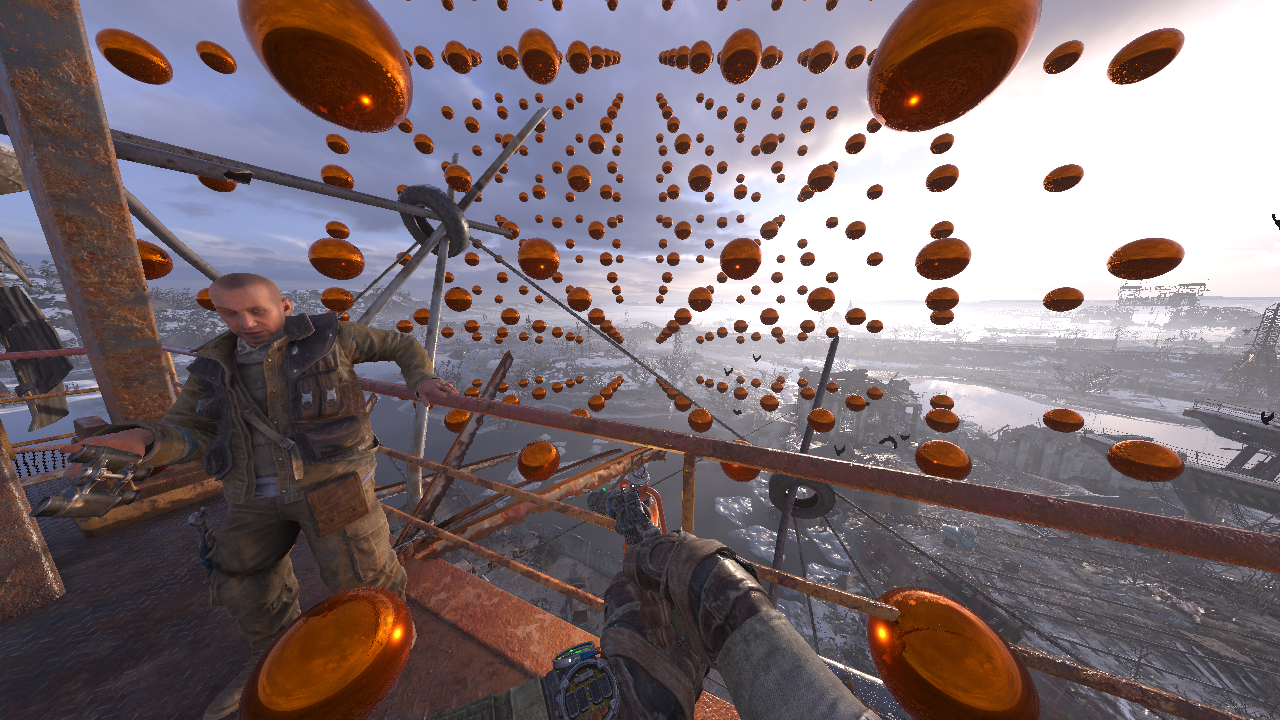
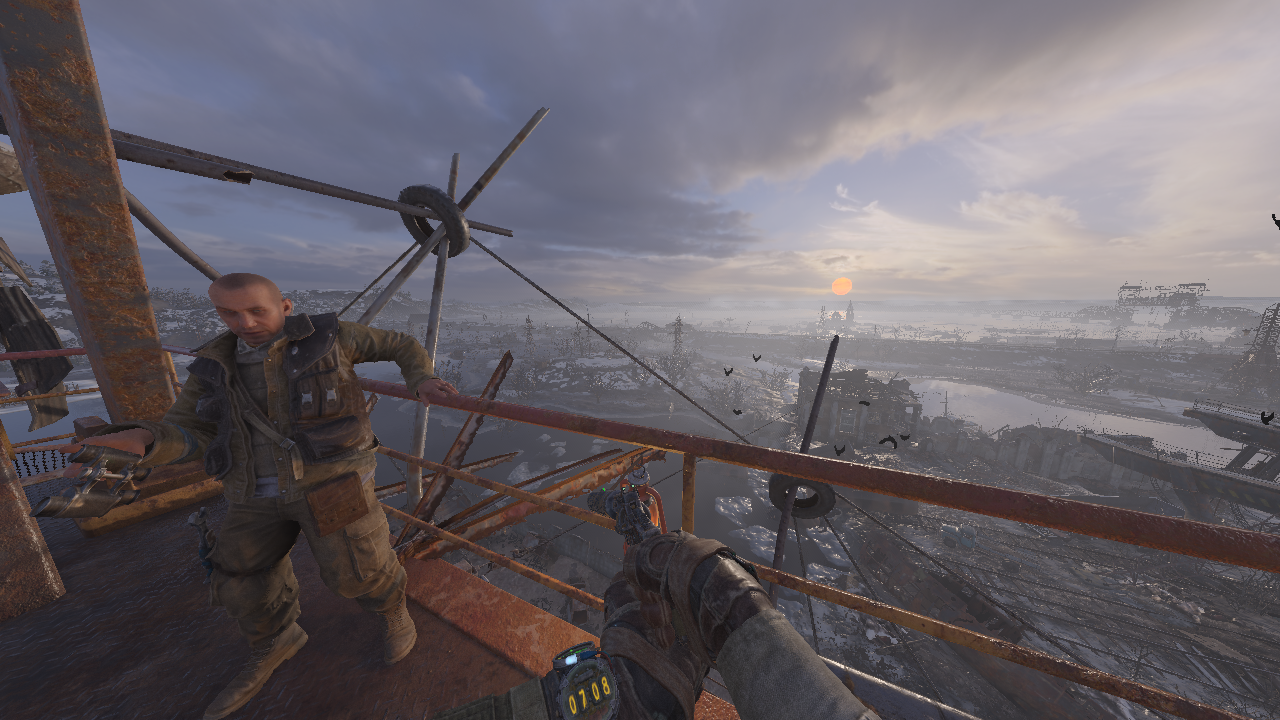
Frame Structure

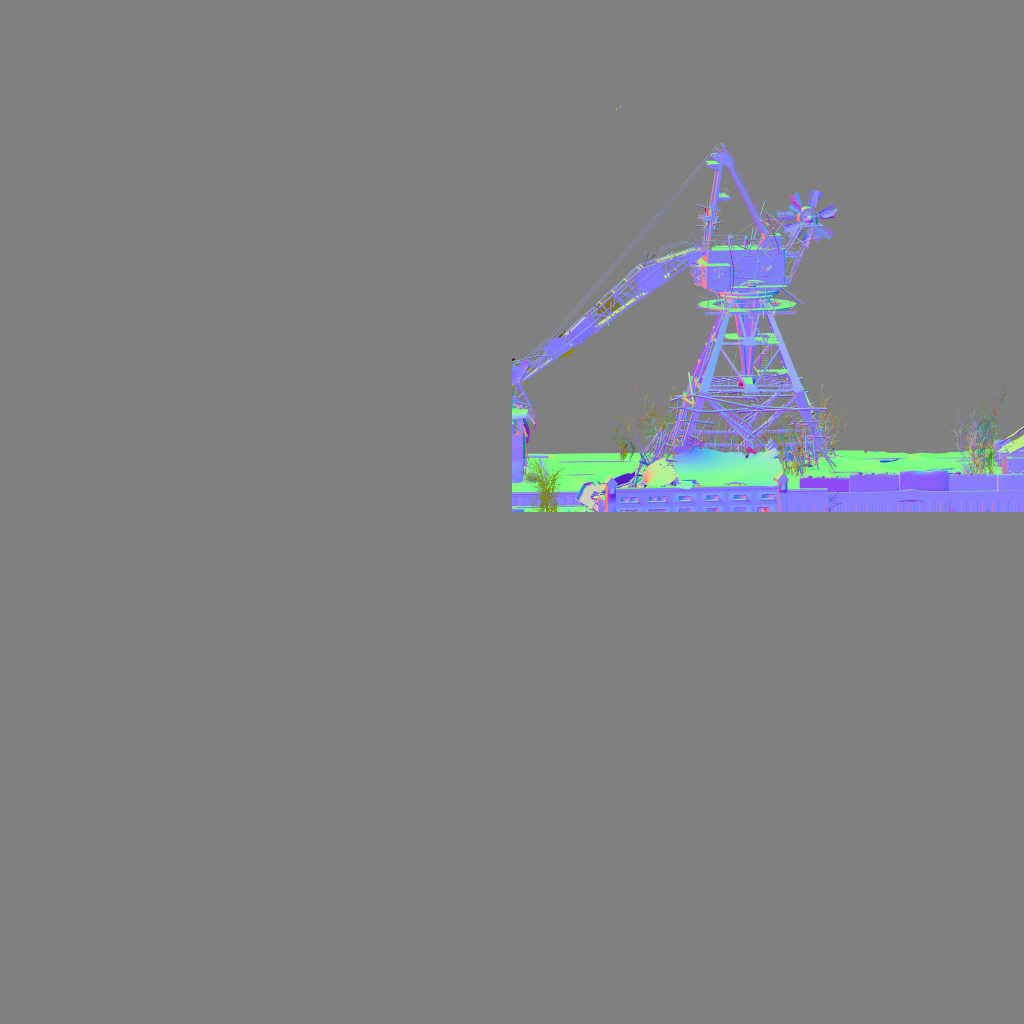
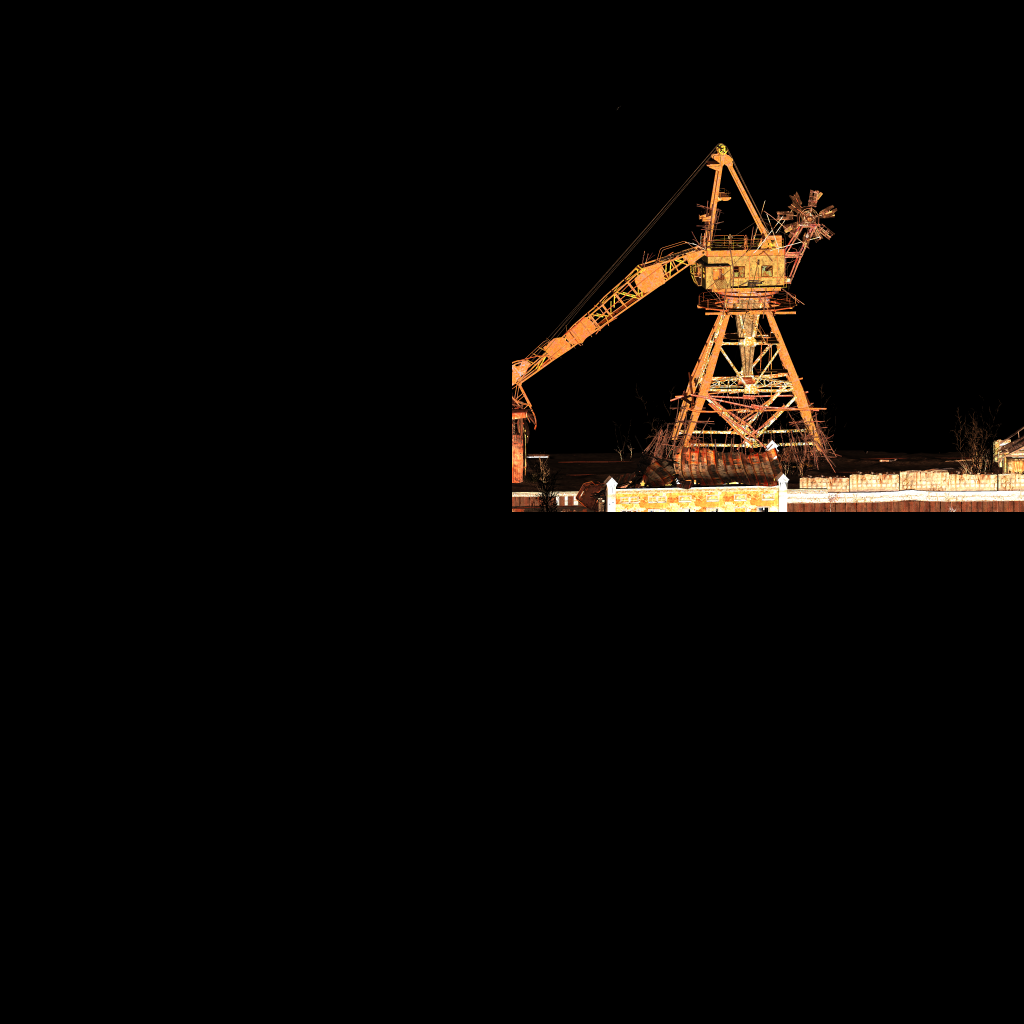
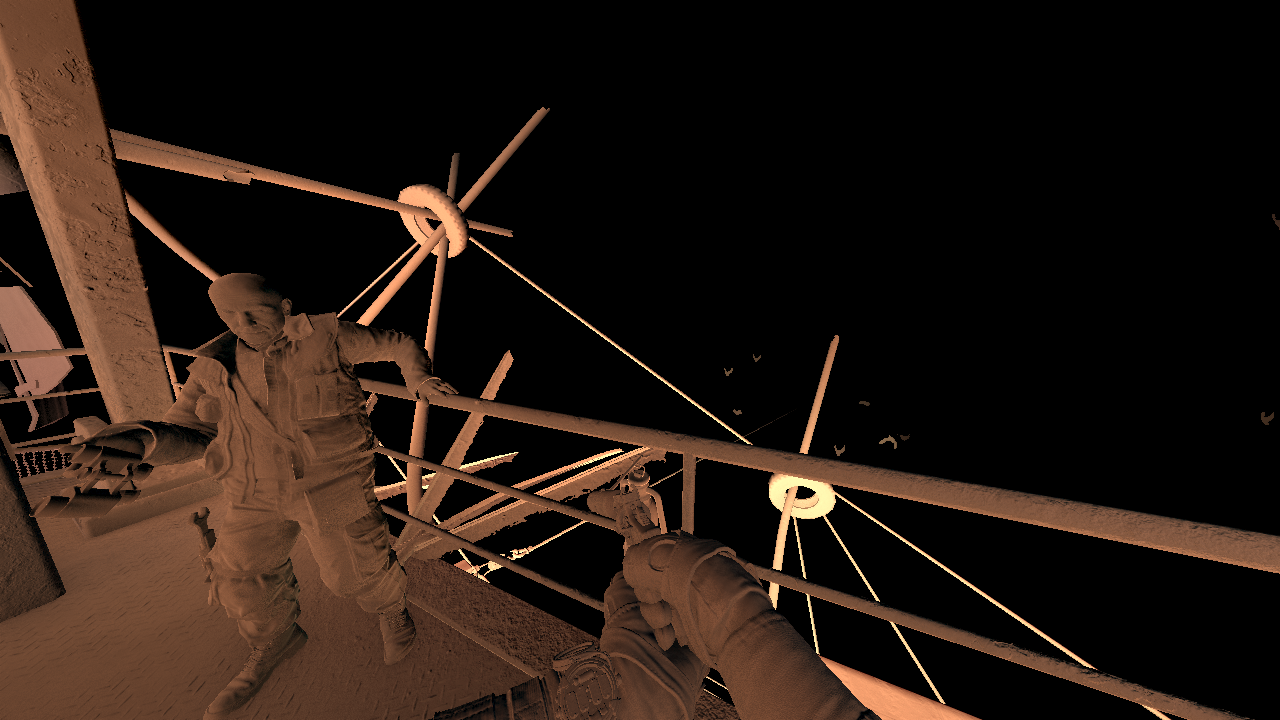
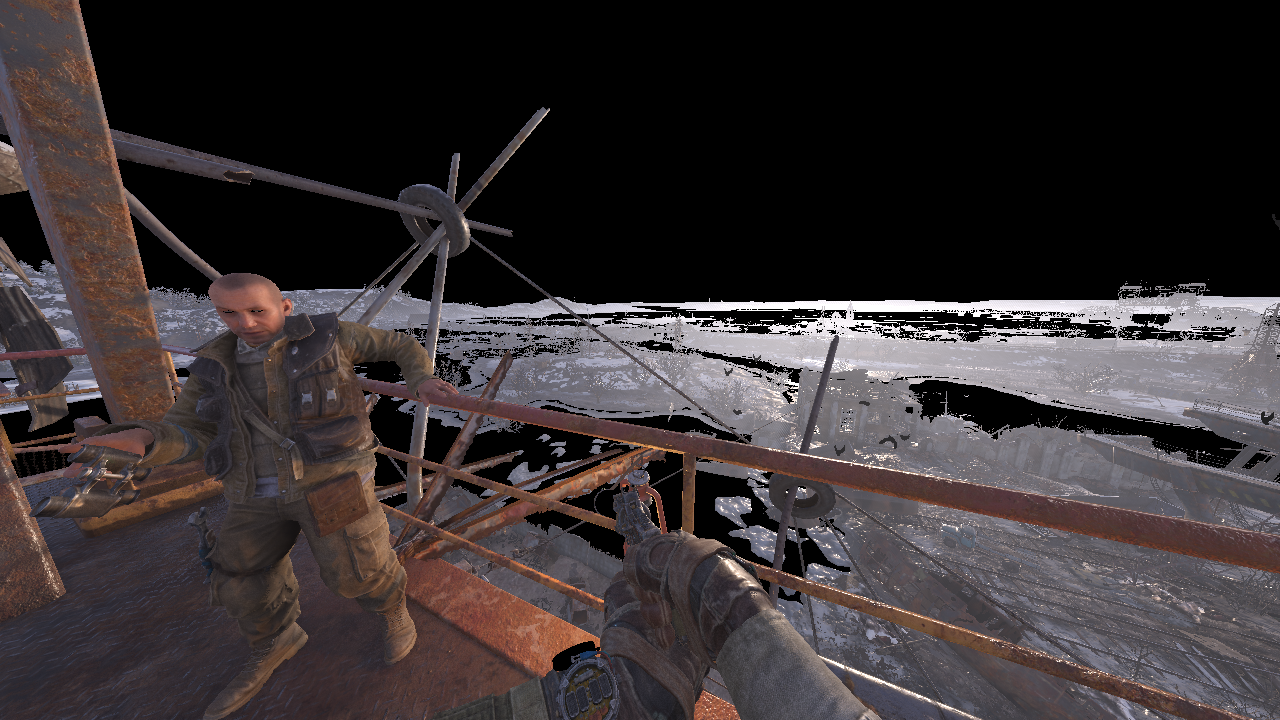
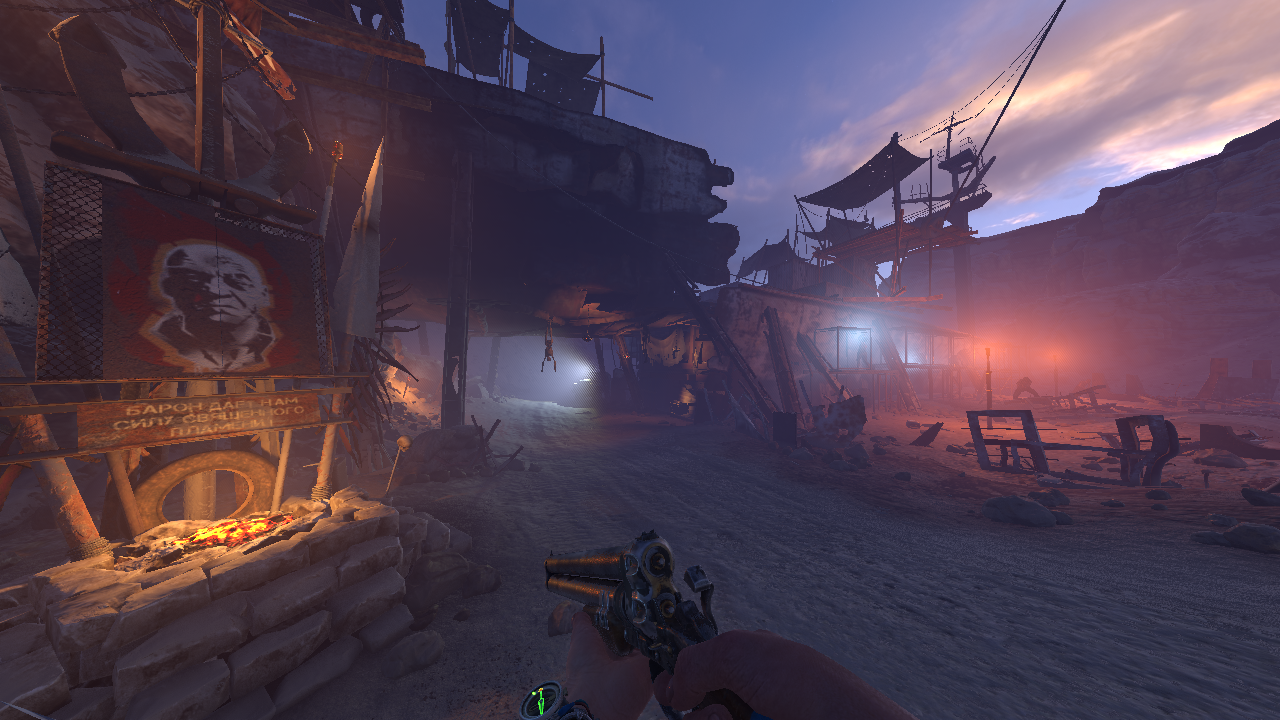
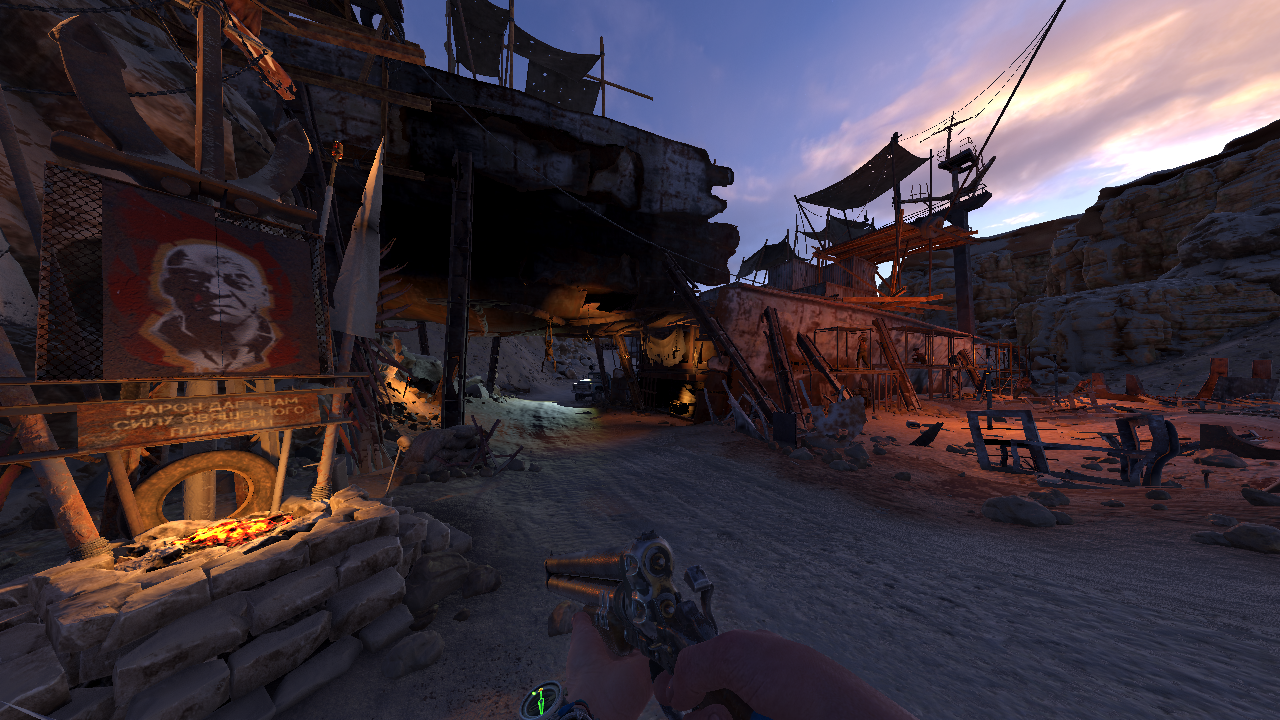
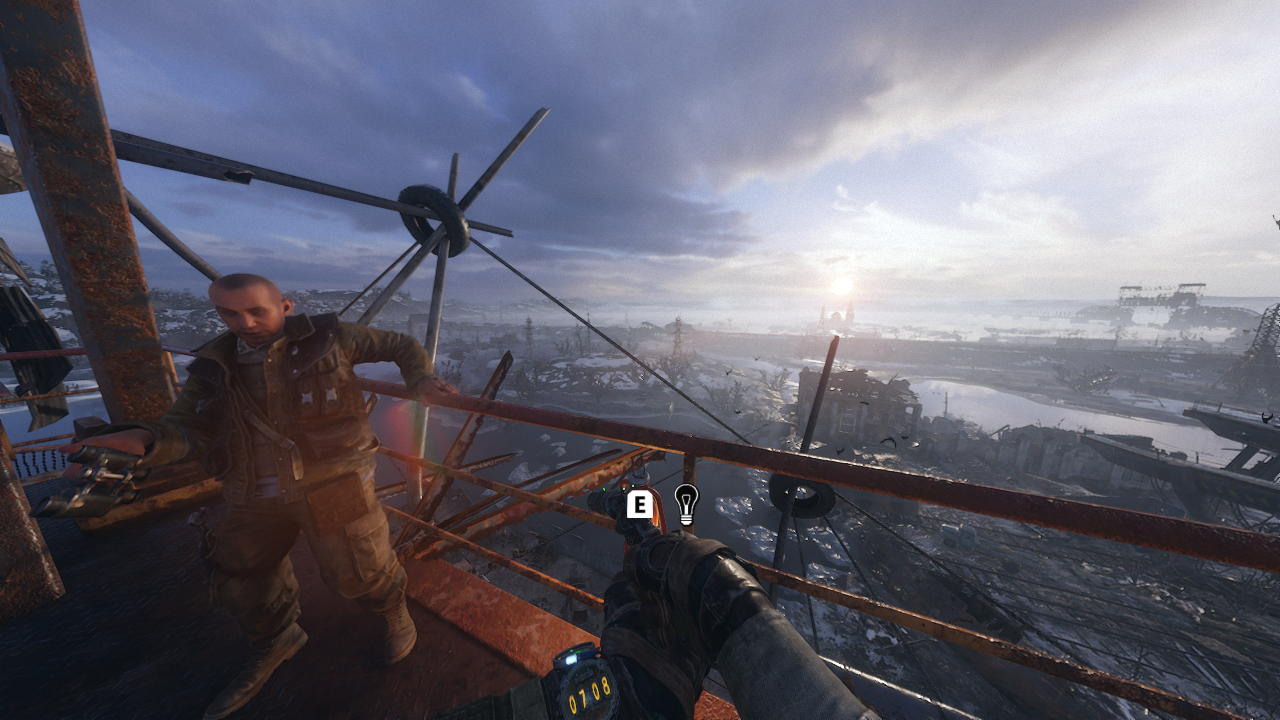
This is the frame we are going to break down. Looking at the dawn with bratukha after the arrival on Volga mission.
The scene exhibits a lot of the engine features. It’s not the most beautiful, in my opinion. I prefer the Caspian mission, probably because of the contrast with everlasting winter in Moscow.
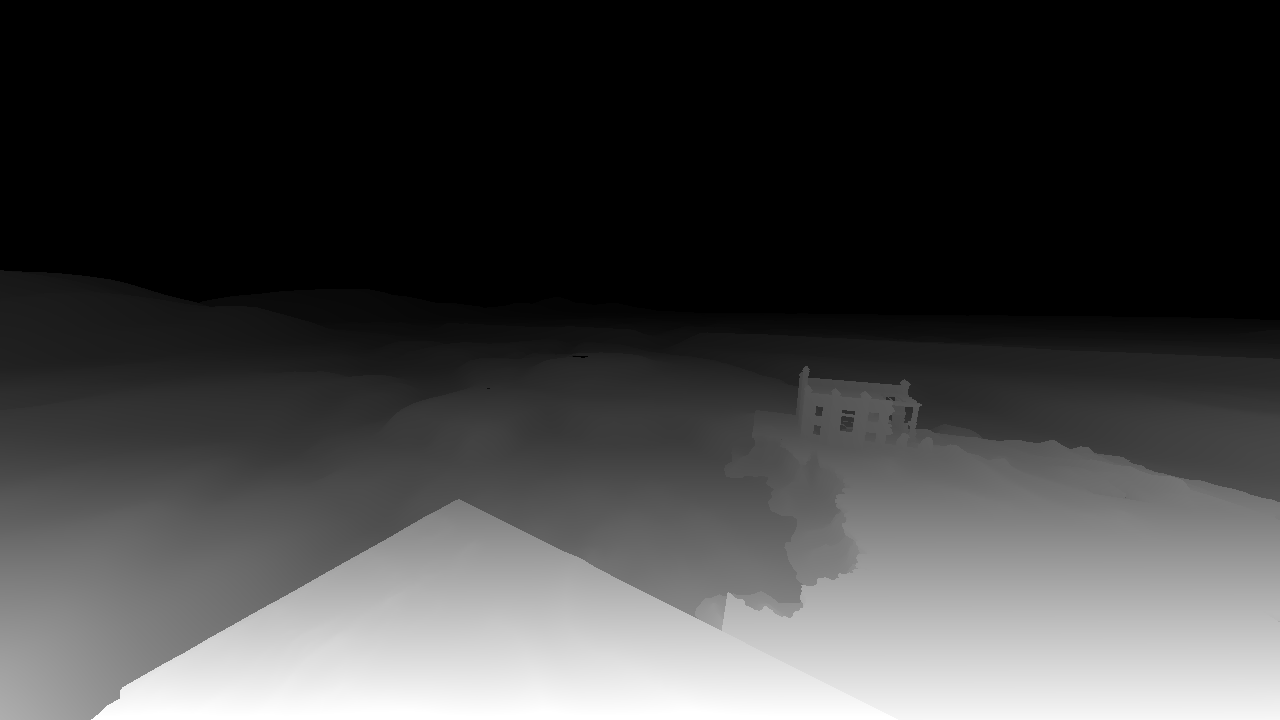
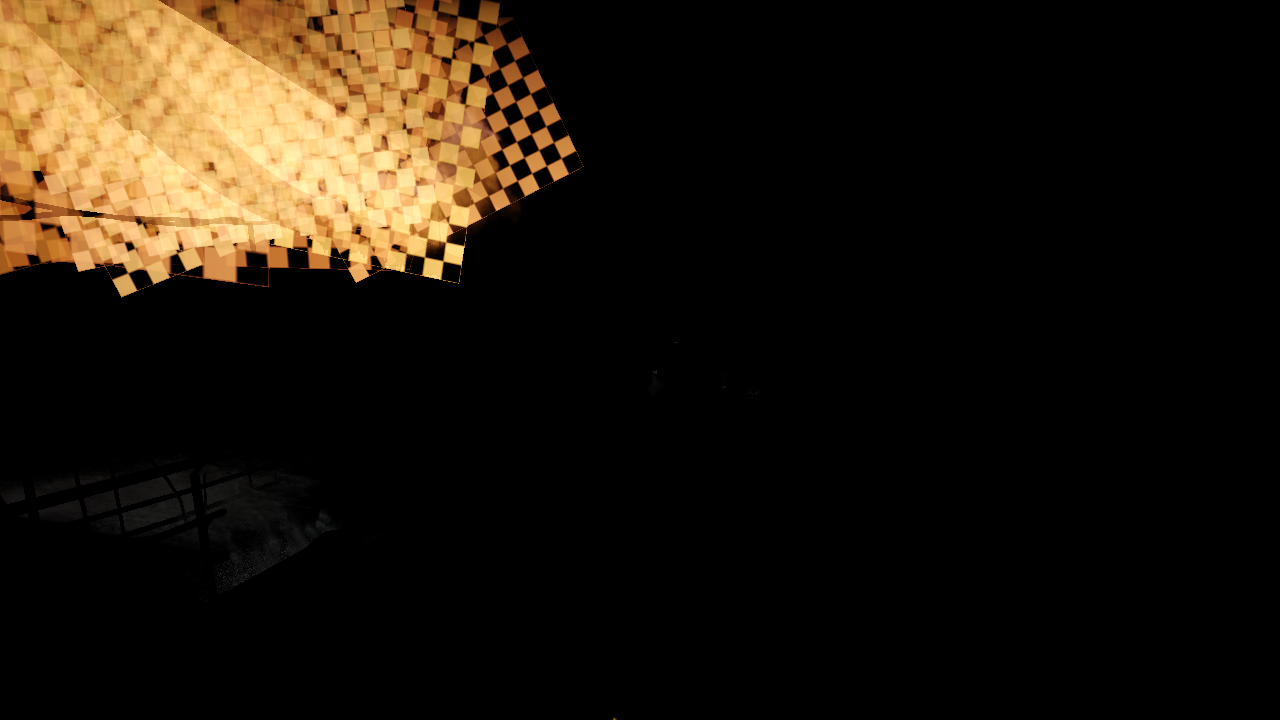
Landscape heightmap extrude
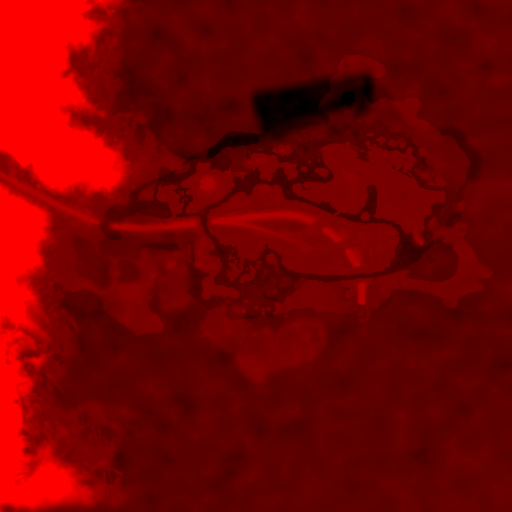
Updates a horizontal band 1024x32 each frame, takes 32 frames to fully update.
I guess it’s an approximate shadow map for the terrain from a sky dome. It seems to be rendered from the same longitude always even at dawn and noon.
It’s used to compensate for the finite area that shadow cascades cover i.e. they are applied for geometry far away from the camera.
Update I think it’s called ‘Elevation map’ from Dietrich, Sim. 2000 and [12].
Removing this map removes distant shadows.
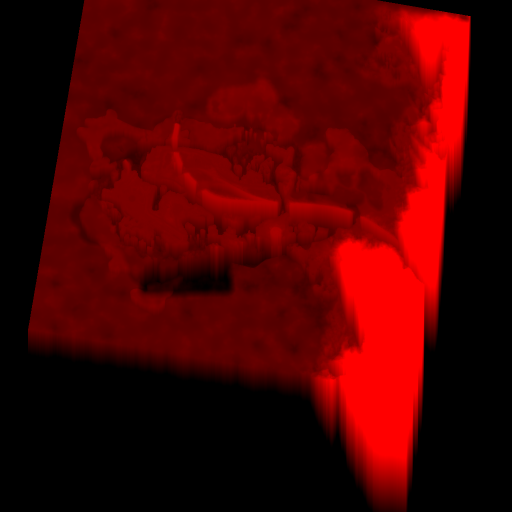
3D noise texture generation

320x192x128 texture of 32 bit floats. My guess is that it encodes the haze density.
Previous frame mip map generation
Different mip levels are used for screen space reflections depending on roughness.
Depth pre-pass
Cheap major occluders.
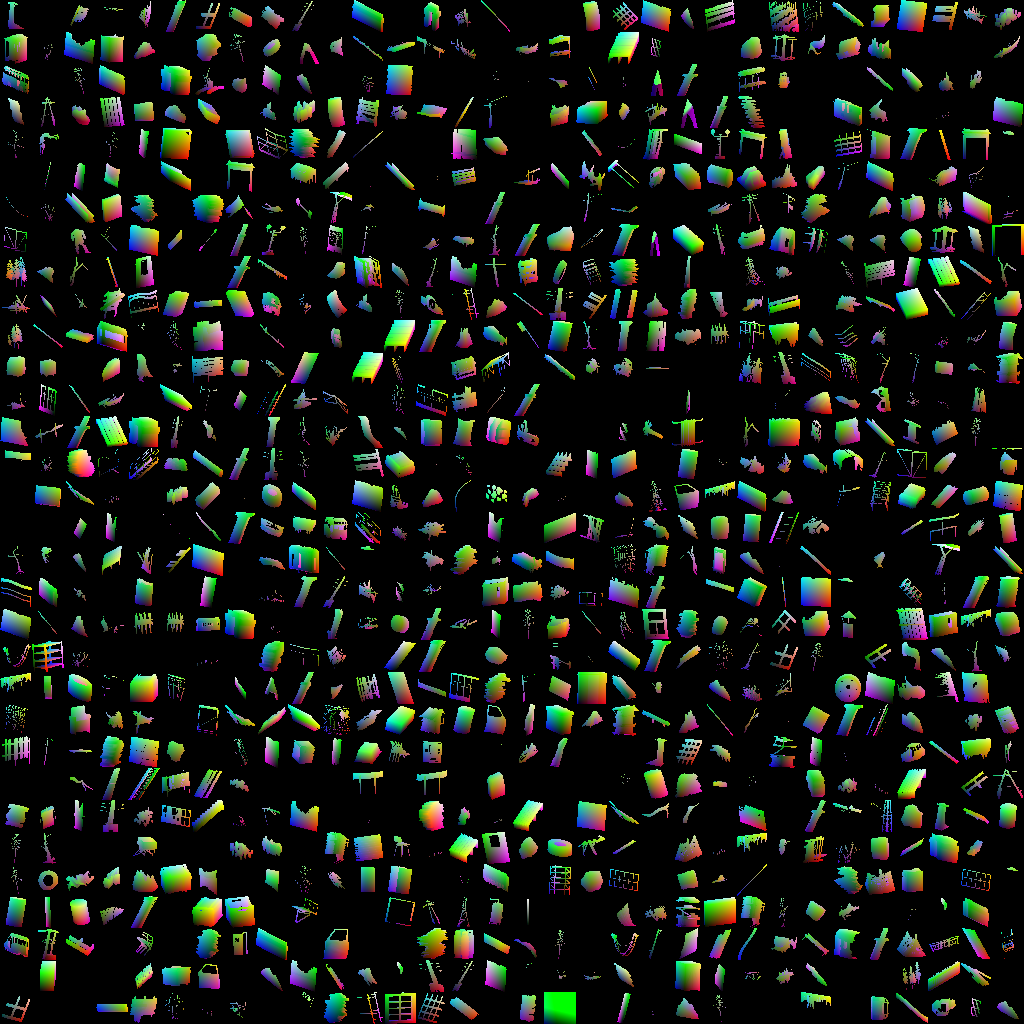
G-Buffer pass


- RT0 R8G8B8A8_SRGB Albedo.rgb + AO.a
- RT1 R10G10B10A2_UNORM Viewspace Normal.rgb + Misc.a
- RT2 R8G8B8A8_SRGB Specular reflection color.rgb + roughness.a
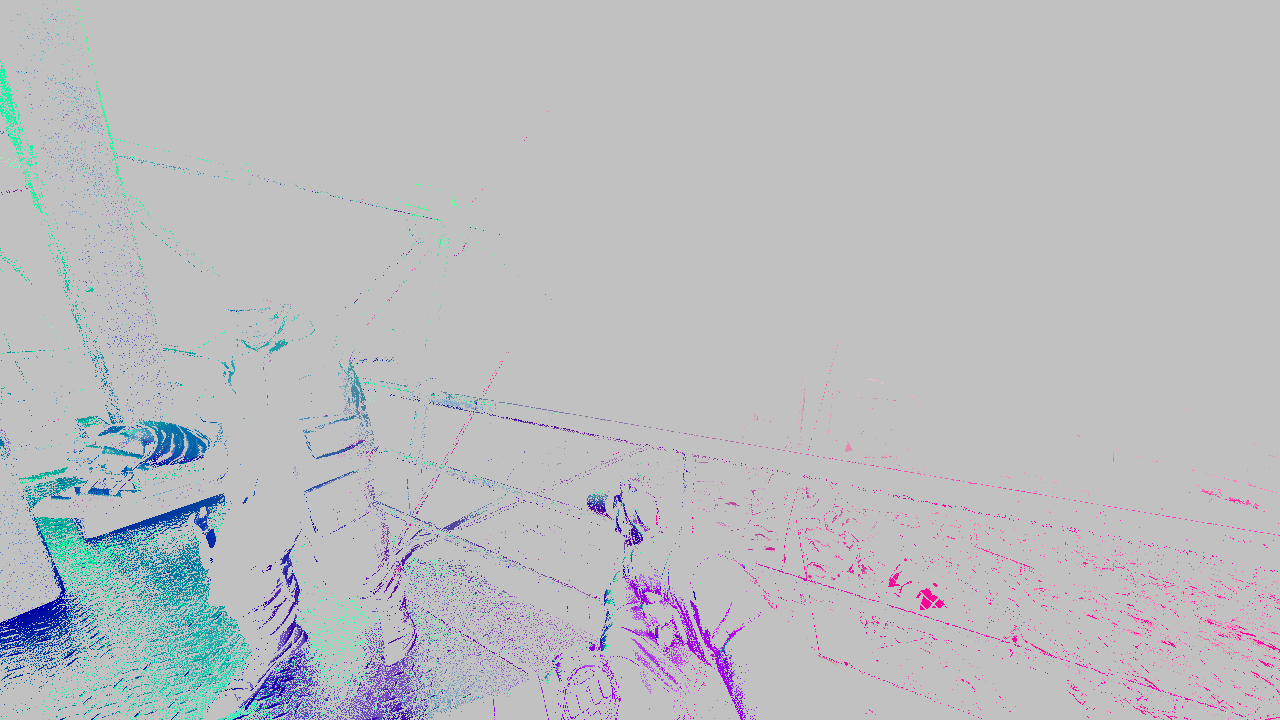
- RT3 R16G16_FLOAT Viewspace velocity.rg
They are using specular color instead of metalness. Typically specular color maps offer more control than metalness maps and allow to model more complex materials.
Depth buffer HiZ generation with min filter
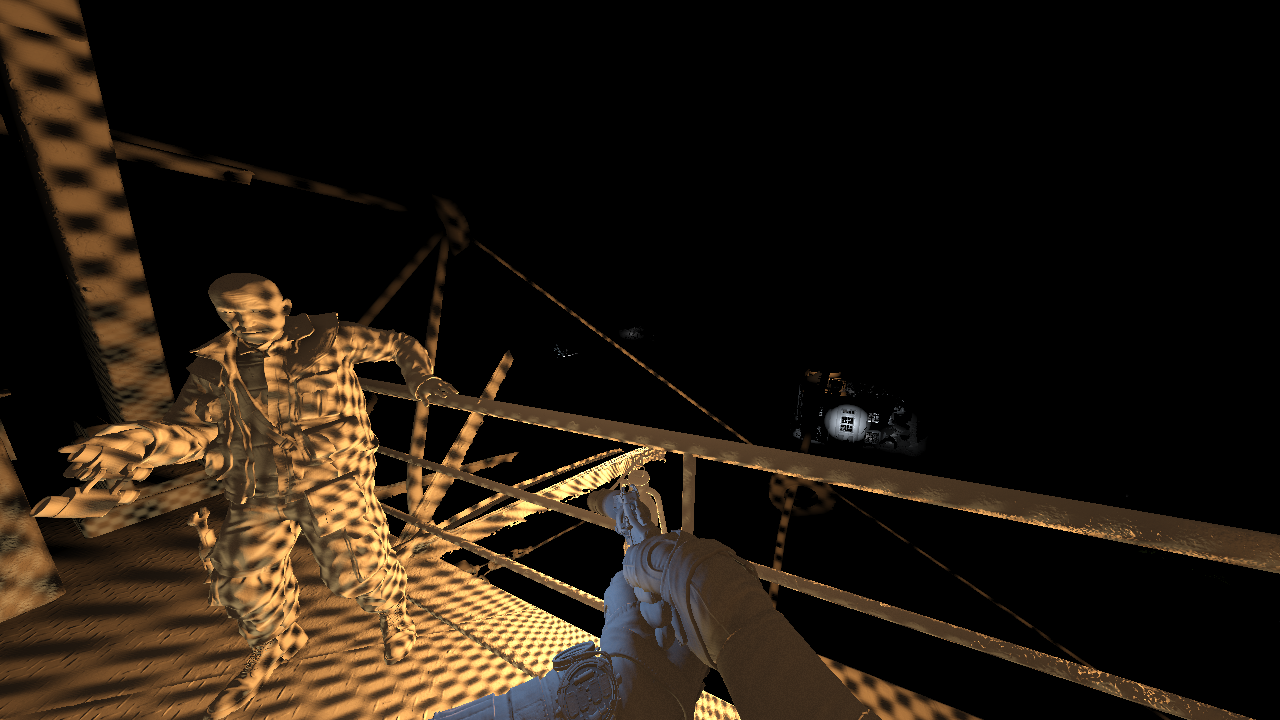
AO generation
Full resolution SSAO. Full resolution depth buffer and HiZ is used. 20 depth buffer lookups per pixel.
Cloud shadow map
3k x 3k of 32 bit float per pixel.
4x4 tiles 1 tile updated per frame.
I don’t recognize the technique so I assume it’s cloud shadow map i.e. for shadows of light scattered from clouds.
AO filter + cloud shadows
AO is temporally filtered with AO accumulator from previous frames. 2 cloud shadows are computed using depth map and the shadow tiles from the previous pass.
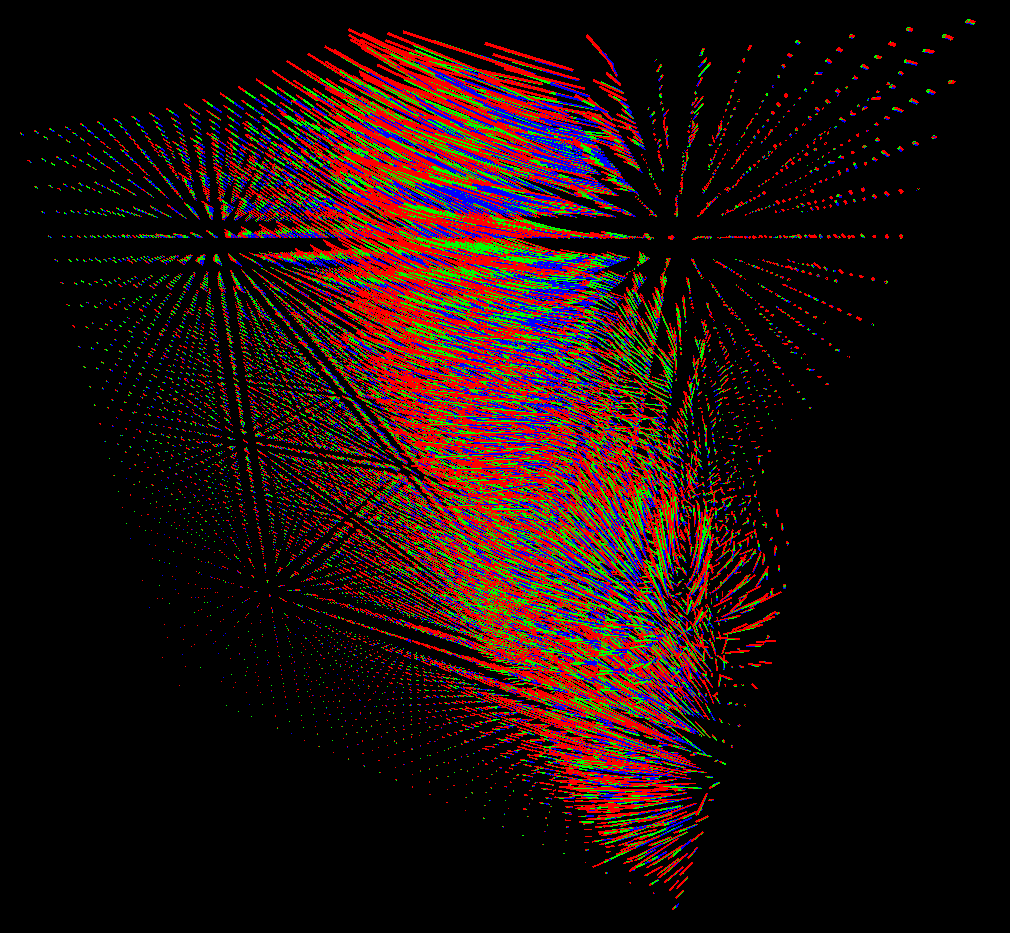
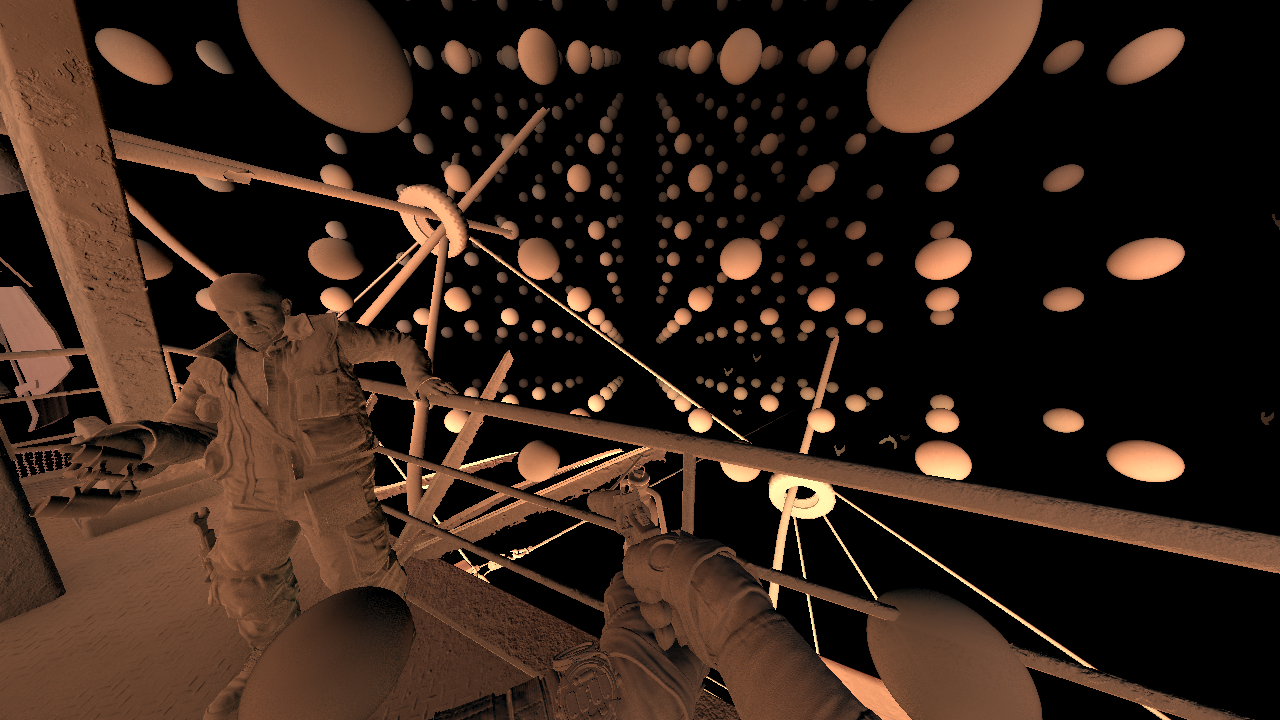
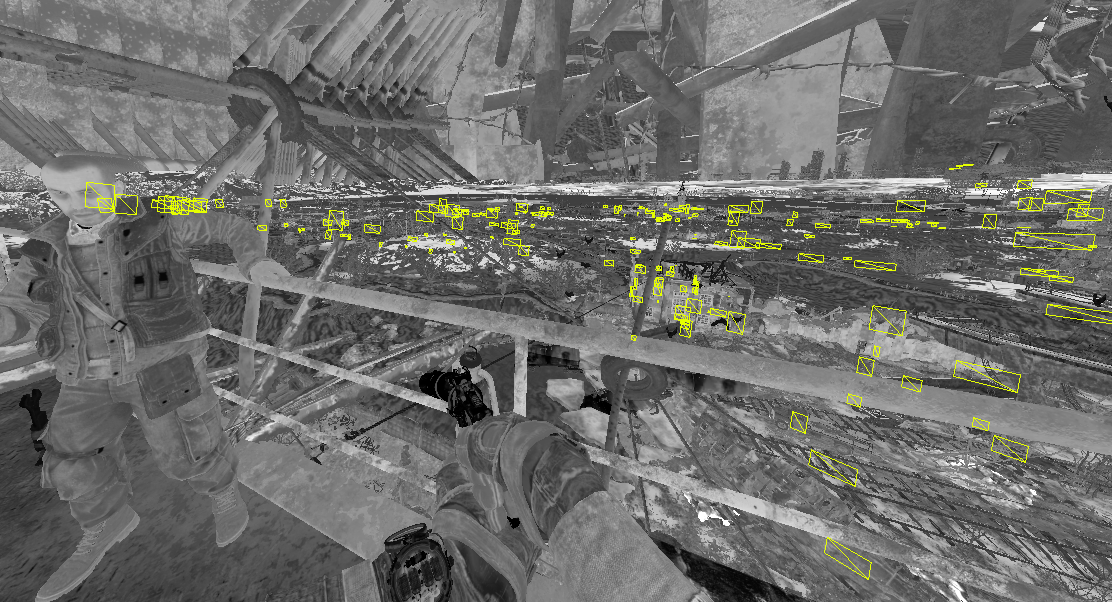
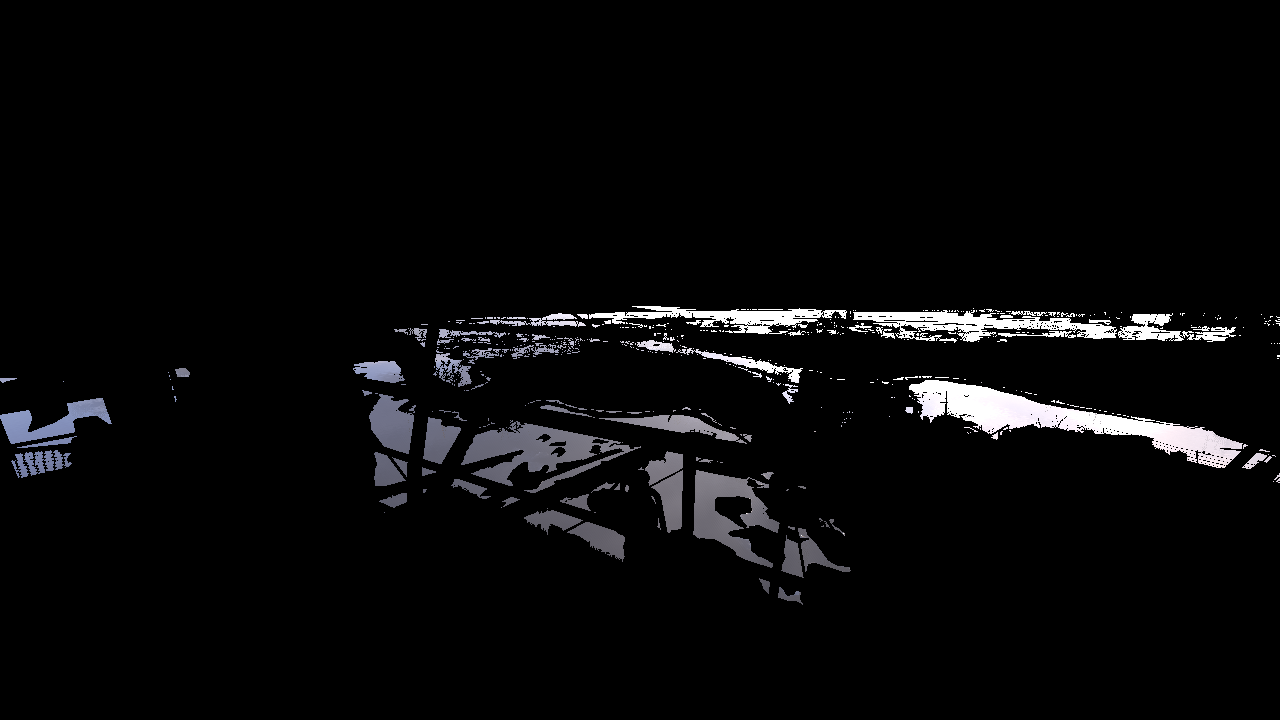
Screen space reflections pre-pass
RGB represents a point in view space where reflected ray hits the scene. Grey means no hit.
Global illumination


Cloud shadows, AO and lightprobes are used to compute diffuse and specular components.
Lightprobe table is used where each value contains 32 bit mask with 1 bit per lightprobe, up to 32 lightprobes per scene. Usual log scale screen space table is employed [11]. Table data is streamed from CPU.
SSR uses previous frame HDR image with different mip levels used for different roughness.
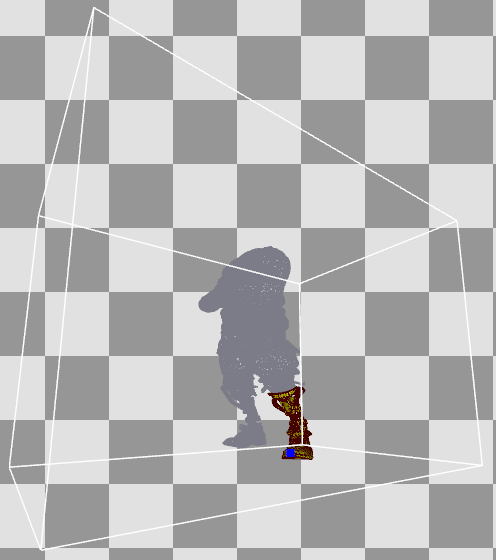
Sun reflective shadow map
Tiles allocated on 6k x 6k texture with 32 bit float per pixel. Only one tile of shadow cascades is used as RSM [1].
Light propagation volume
It’s similar to the technique described in [8] but here the generation is dynamic and 16 bits per component are used. Read [2], [3], [4] and [5] about LPV.

Red LPV where z dimension is unwrapped with time;
RSM from the previous pass is used to compute LPV.
The result of this pass is 3 volume textures(for red, green and blue wavelengths) of 4x16 bit floats for constant and linear coefficients of spherical harmonics. Spherical harmonics encode low frequency component of irradiance field. Later it’s used to approximate radiance for diffuse surfaces. The visualization of LPV shows the fields of vectors at voxel centers with (x, y, z) equal to linear coefficients of SH for red, green and blue LPVs. The direction of linear coefficients is an average light direction at the point.
The pass is comprised of two stages. Injection and propagation is merged in one stage and in the second stage the volumes are mixed with 6-12 other volumes, presumably it’s some kind of temporal filter with LPVs from previous frames.
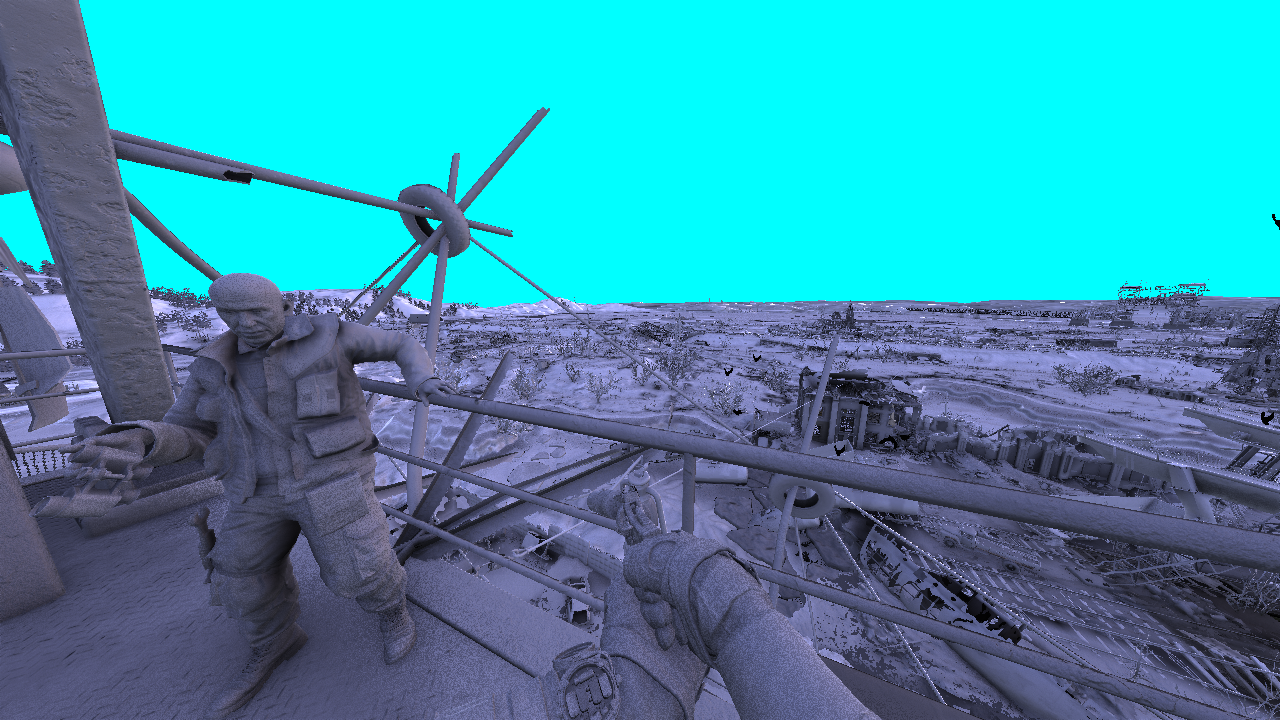
This is how 5 of the volume corners look in view space, it’s sun oriented and I guess also grid snapped so the position is changed rarely.
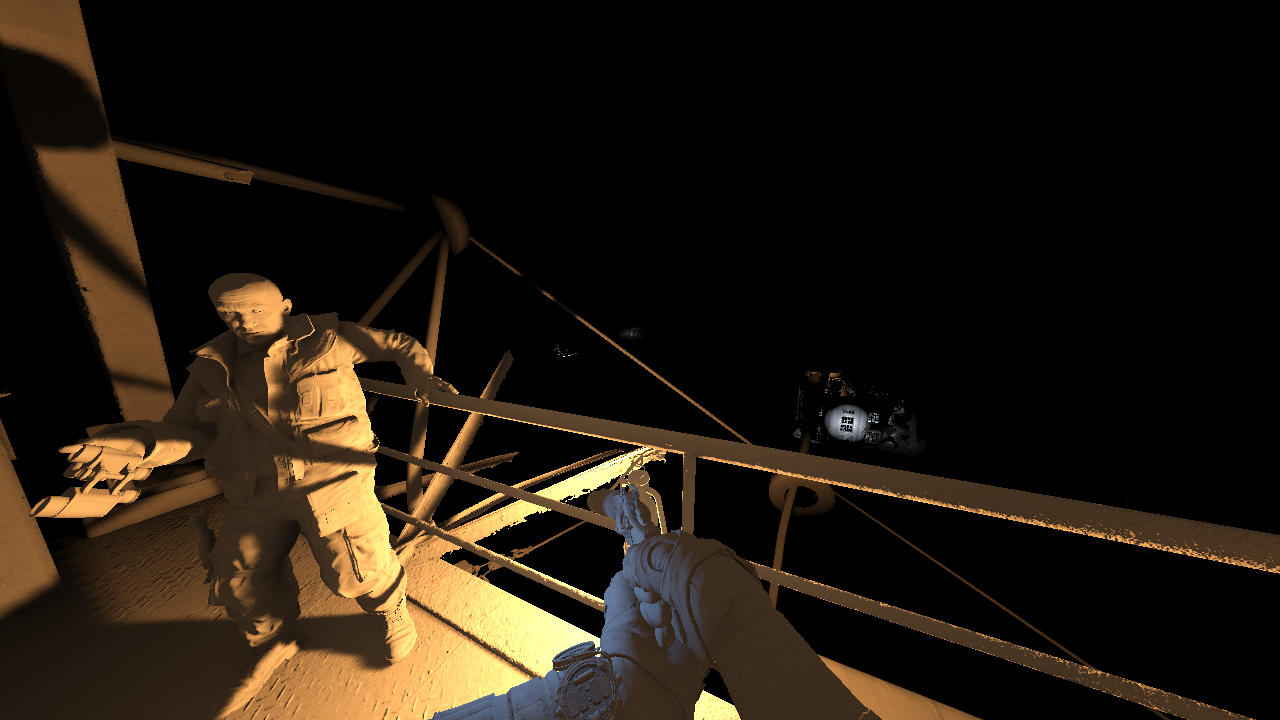
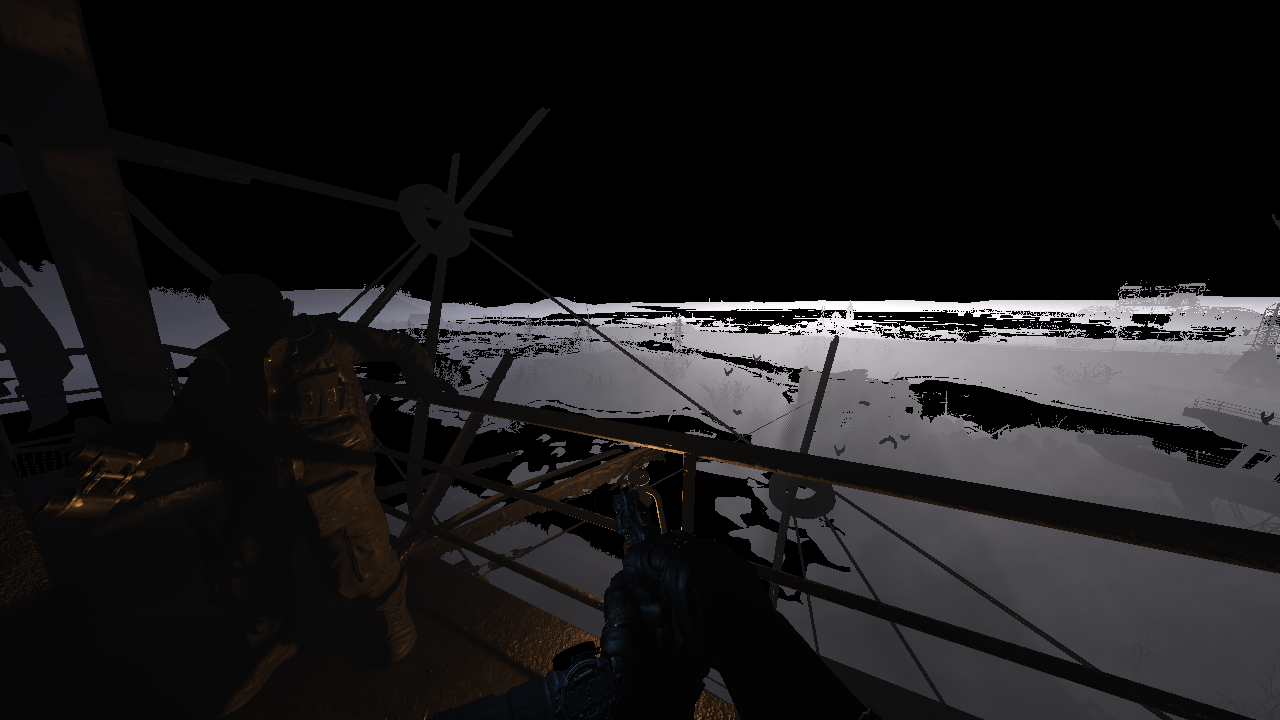
LPV applied
LPV impact is not clearly seen for the image so here is the pure difference.
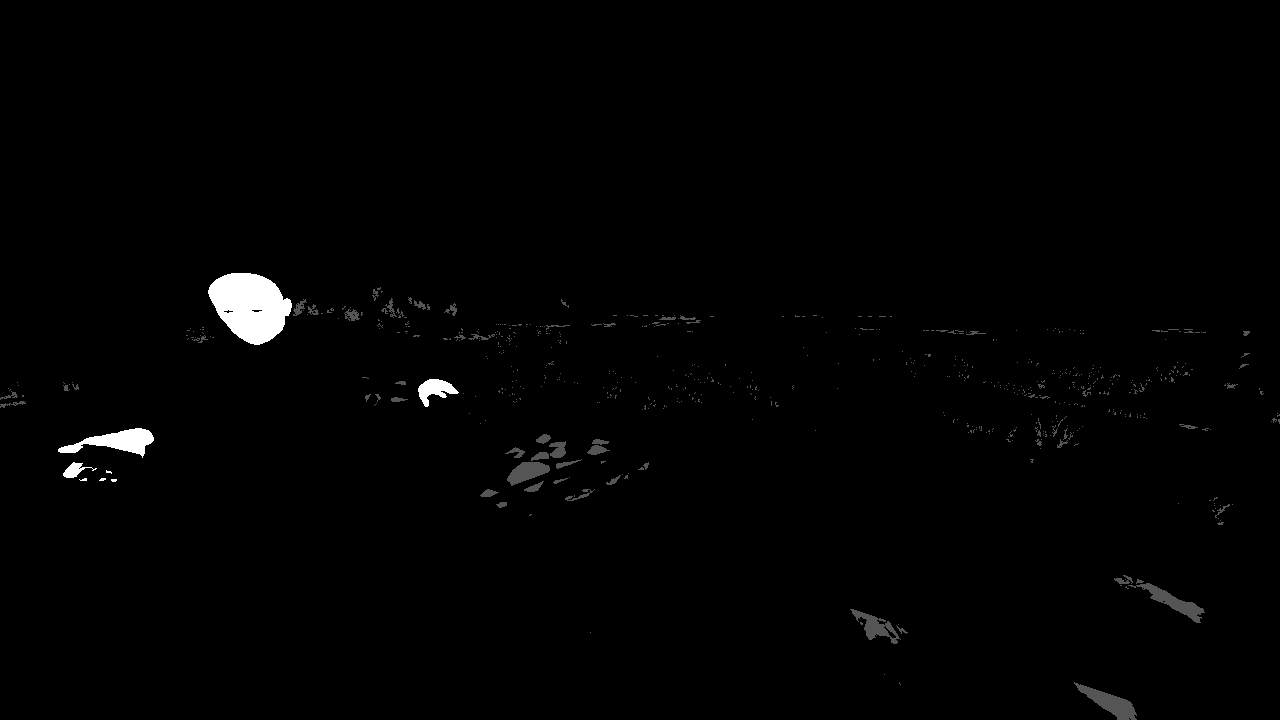
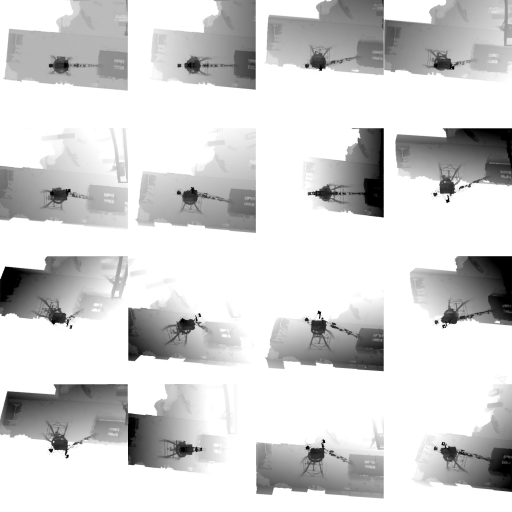
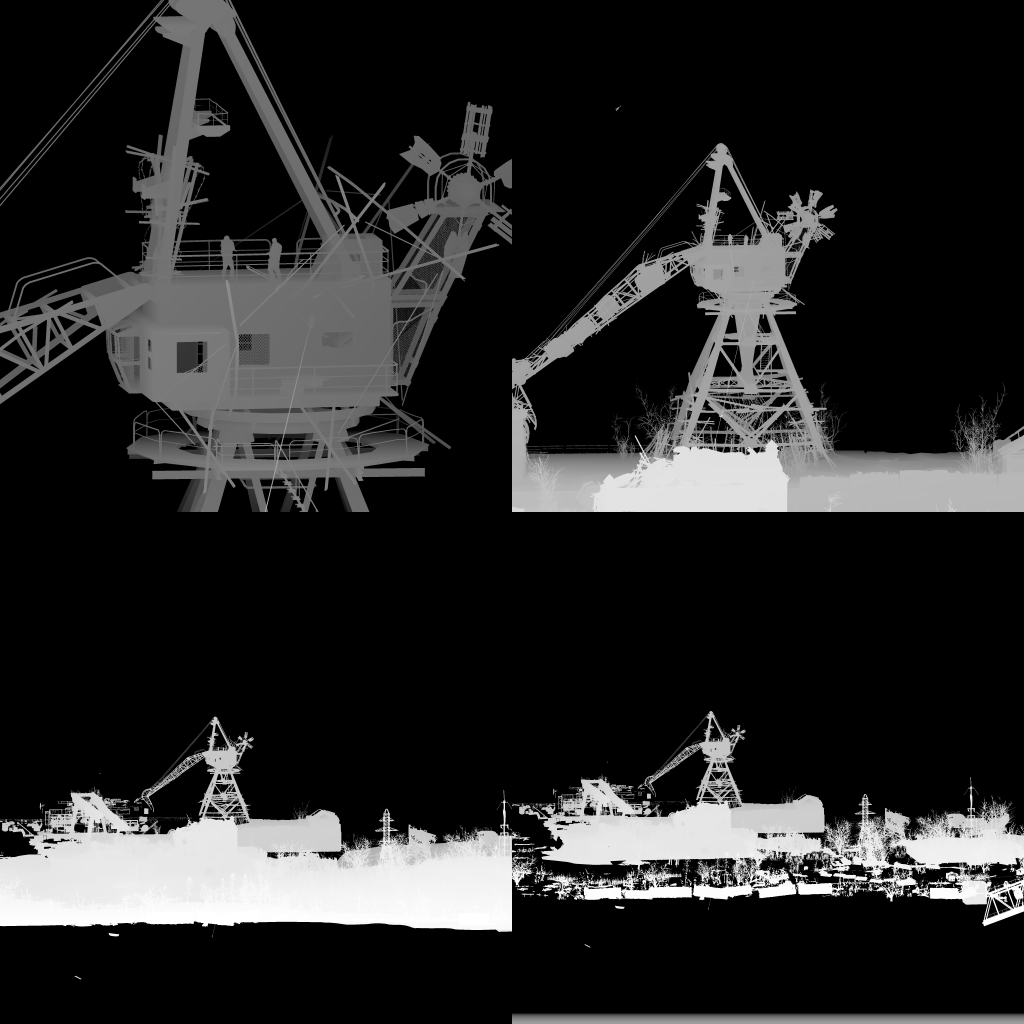
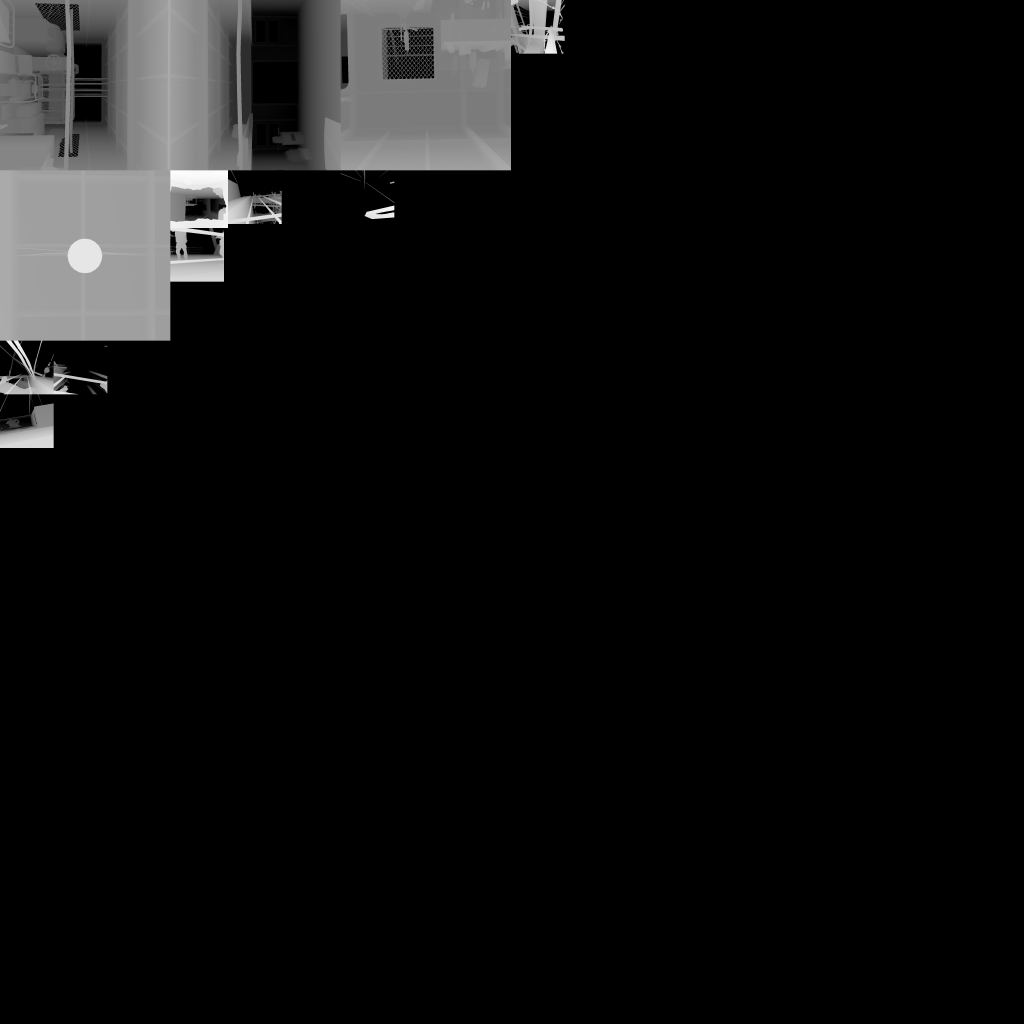
Imposters update
This is just a 1k x 1k patch of the bigger texture 6k x 6k.
The idea is that you render billboards with images of distant 3d objects writing custom values to the depth buffer [6] [7]. When distance is large enough the angle doesn’t change for many frames. When angle changes too much for some object you need to update their billboard. Each image is of an 3d object actually rendered with orthographic projection.
An example of the colonel imposter model. Imposter characters don’t have heads.
Where billboards are placed.
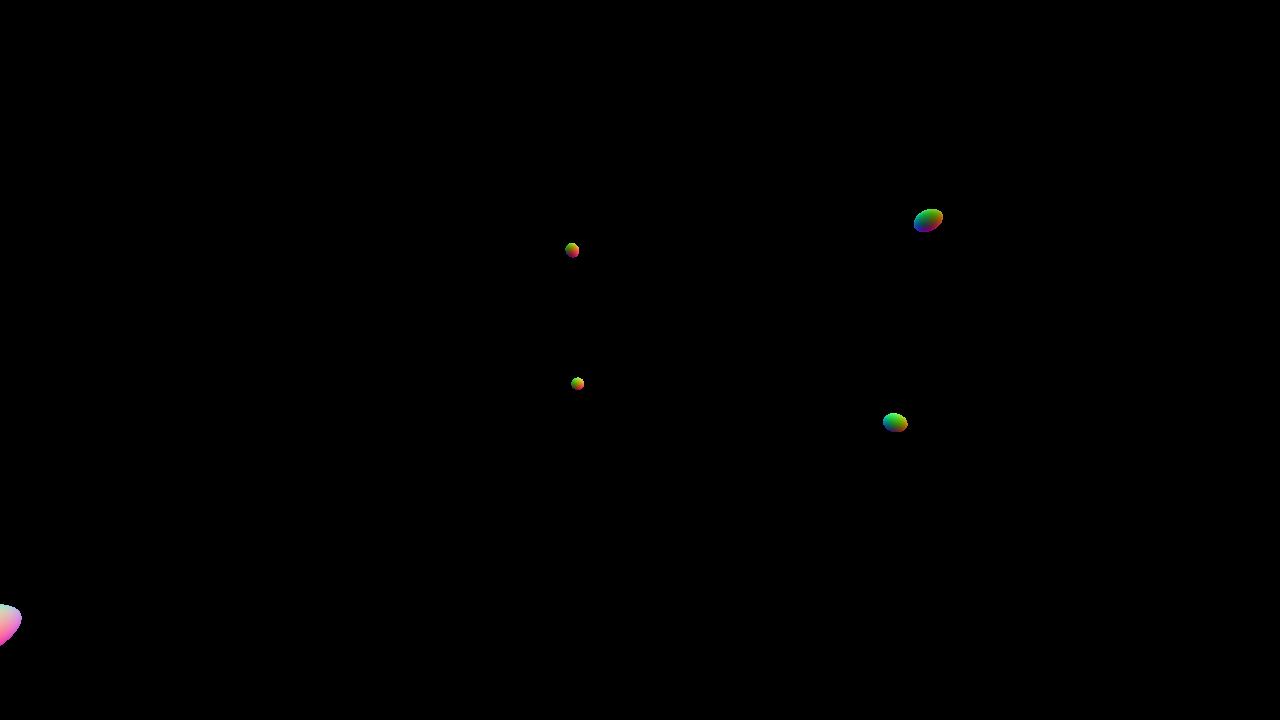
Local lights shadow map
Each light shadowmap tile is allocated on 6k x 6k map with 32 bit float format.
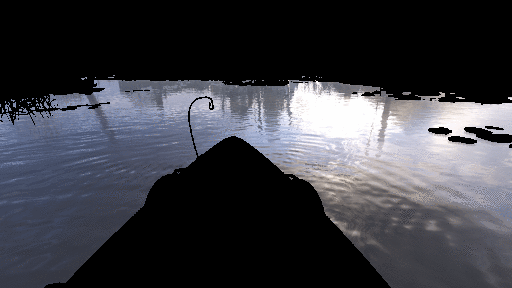
Screen space displacement

This is an example from a different frame with water surface close to the camera.
Ripples update

The simulation shader performs one step of advection with discrete laplace and timestep clamped to 16ms.

Example from a different frame.
Apply sun
Diffuse and specular contribution from sun is computed.
Apply local lights
Diffuse and specular contribution from local lights is computed.
24x16x24 Light table is used with usual depth log scale. The 32 bit values in the table approximately have this structure:
struct Ligth_Table_Entry {
  unsigned end: 8;
  unsigned start: 6;
  unsigned offset: 14;
};
This points to a span of light ids inside the list. The actual light data looks something like that:
struct Light_Info {
  float3 pos;
  float radius_squared;
  float3 shadowmap_loc;
  uint shadow_flag;
  float3 light_color;
  float attenuation_constant;
  float4 viewproj_row_0;
  float4 viewproj_row_1;
  float4 viewproj_row_2;
  float4 viewproj_row_3;
};
The shader then does 16 samples from shadow map per light. Light table and light list data is streamed from CPU.
Screen space volumetrics

320x192x128 table of 4x16 bits float per voxel is generated. I wasn’t diving deep into this but the technique looks quite intuitive. All Lights + shadow maps and LPV are evaluated per voxel. Takes ~10ms on RX 480.
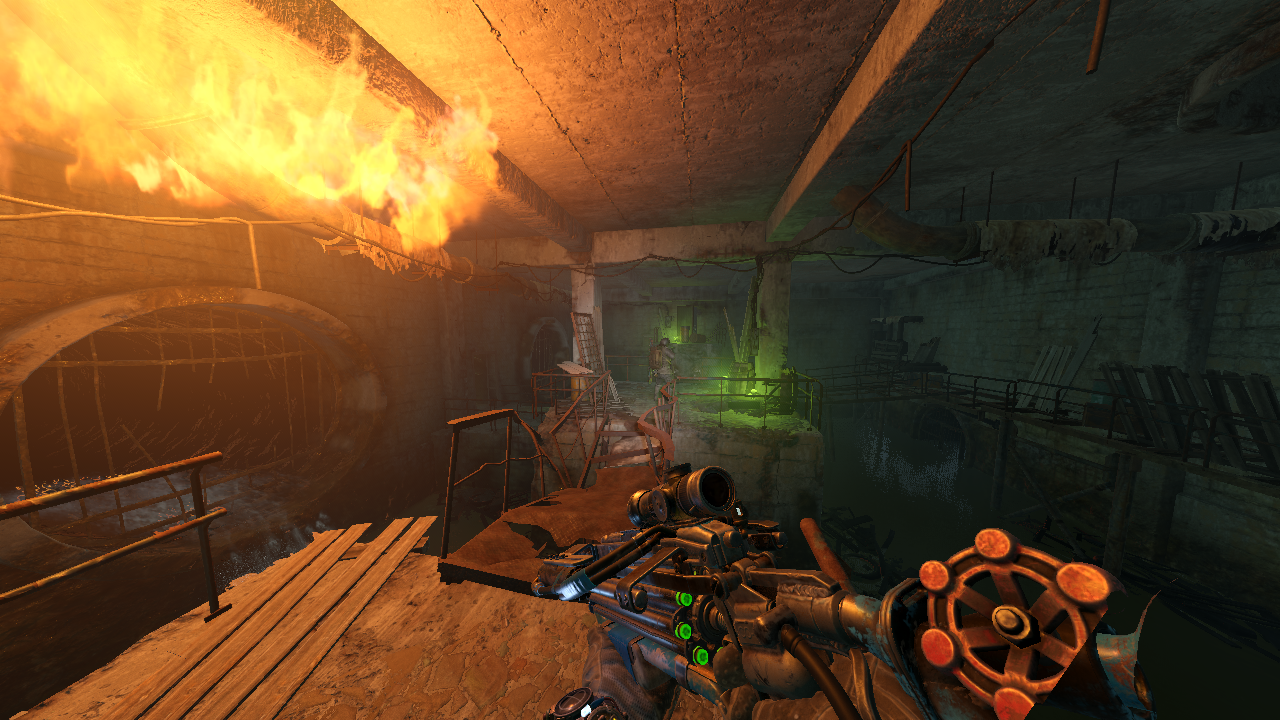
Emissive materials
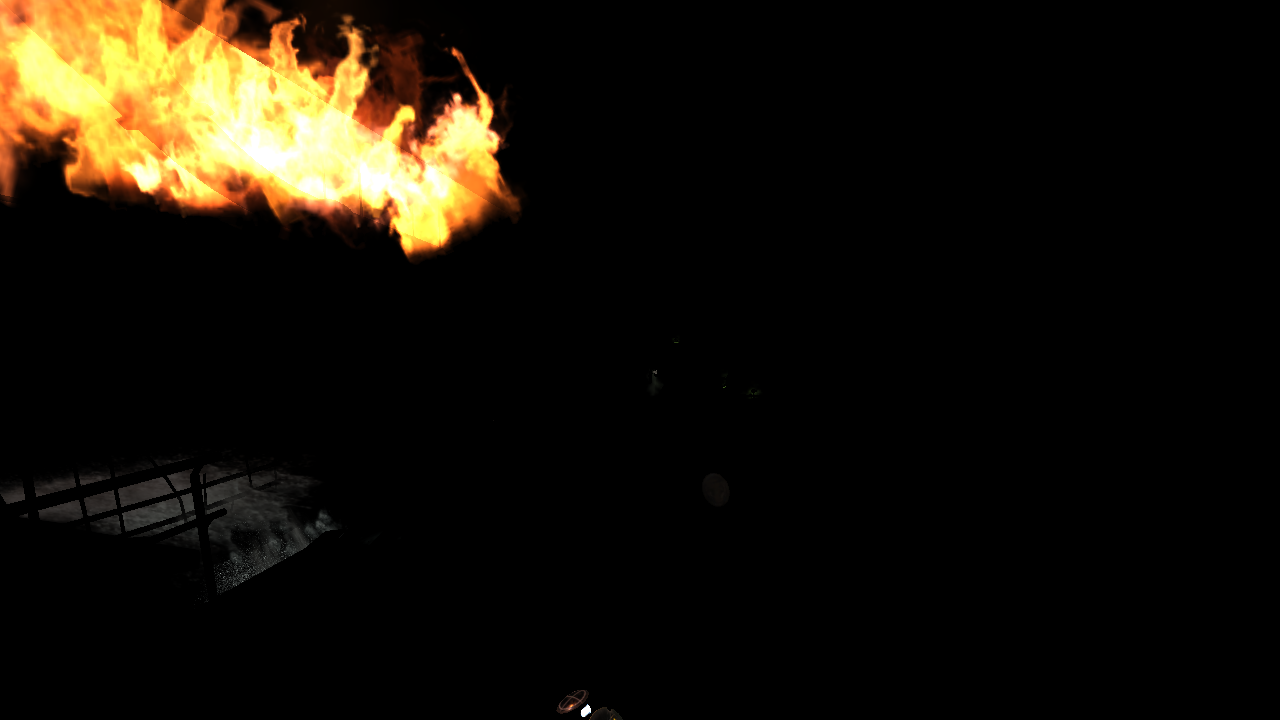
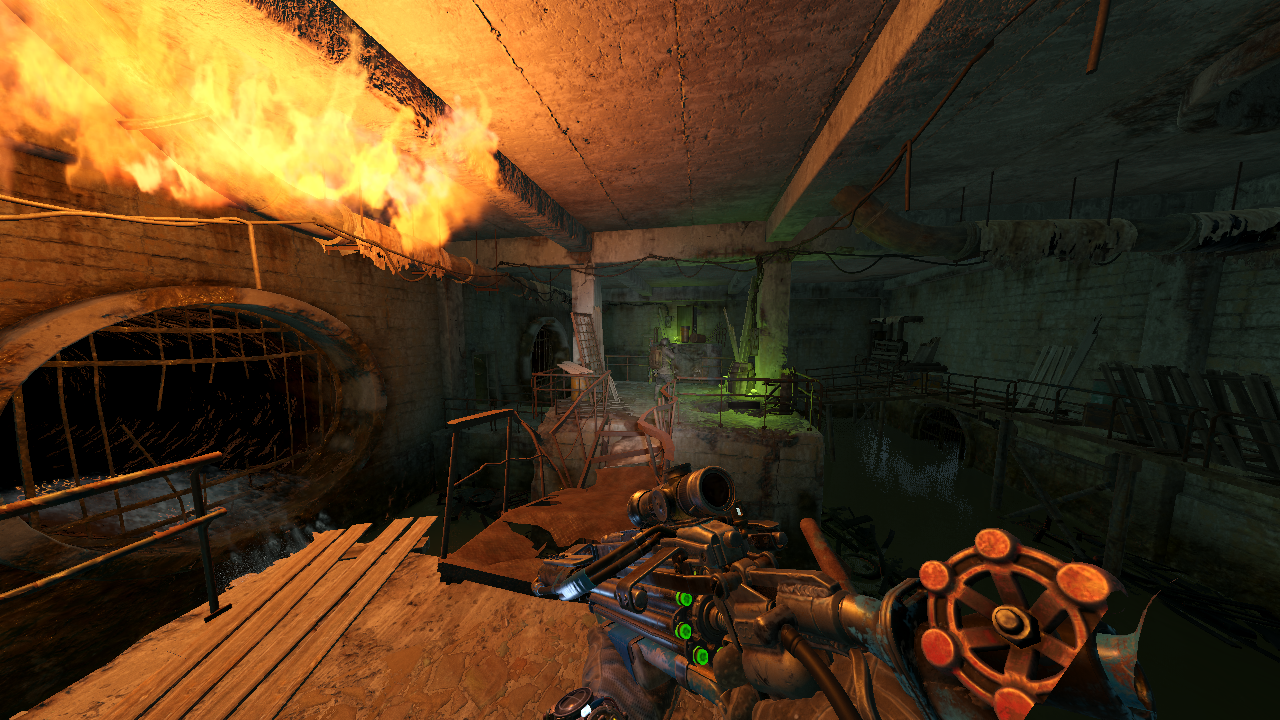
Emissive parts are rendered: lamps, mushrooms, fire etc.
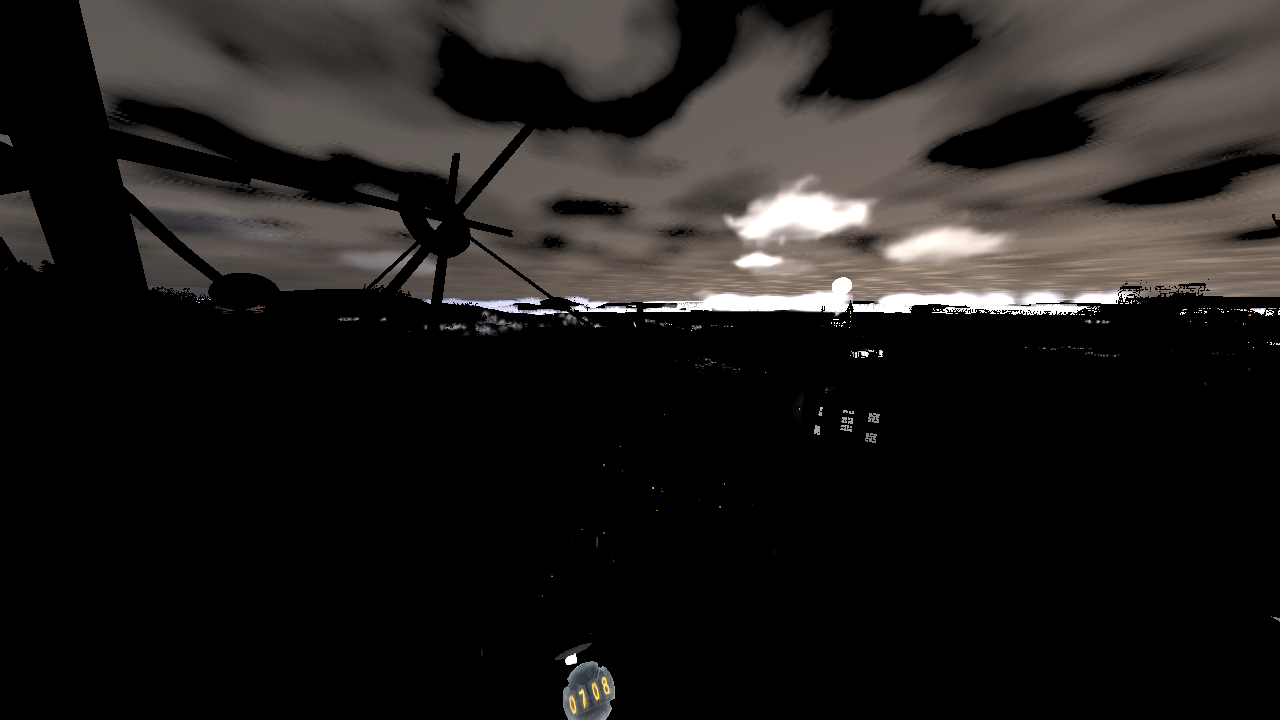
Skydome
For some reason they apply the skydome to the previous image too. They also modify the velocity map so I guess it’s some workaround for TAA.
Water
Previous image is used for reflections(Example from a different frame).
Combine light

Diffuse, specular and fog are combined.
Apply emissive
Mushrooms, HUD, fire, sun, clouds etc.
For mushrooms and fire light sources are placed.
TAA

Blur
Lens flare
Rendered on the blurred image from the previous pass.
Tonemap+GUI
Film grain, edge sharpening, bloom, blue shift etc.
Conclusion
The deferred shading with clustered light system enables tens of local light sources per frame making a lot of difference in night/underground scenes. While the global illumination system kicks visuals to the top during the day. It’s clear that they’ve put a lot of effort to make sure the engine pushes top pixels in every setup.
I would love to see this engine with GPU culling+Draw Indirect pipeline from RE2. It appears to me that their CPU based culling could do a better job, but I don’t have numbers here.
That’s it. I hope you enjoyed the trip. I skipped some of the minor passes but hope that you still have an image of what is going on inside the frame.
Bonus section
Tips on dxasm
You are looking at coordinate transformation:
dp4 r3.x, cb0[20].xyzw, r1.xyzw
dp4 r3.y, cb0[21].xyzw, r1.xyzw
dp4 r3.z, cb0[22].xyzw, r1.xyzw
dp4 r1.x, cb0[23].xyzw, r1.xyzw
div r1.xyz, r3.xyzx, r1.xxxx
You are looking at SH evaluation:
; 0.282095f = sqrt(1/fourPi)
; 0.488603f = sqrt(3/fourPi)
mul r6.xyz, r6.xyzx, l(0.488603, 0.488603, 0.488603, 0.000000)
mov r6.w, l(0.282095)
mul r7.xyzw, r5.xxxx, r6.xyzw
mul r8.xyzw, r5.yyyy, r6.xyzw
mul r5.xyzw, r5.zzzz, r6.xyzw
You are looking at SH diffuse convolution:
; 0.886227 = pi/sqrt(fourPi)
; 1.023326f = sqrt(pi/3)
sample_l(texture3d)(float,float,float,float) r12.xyzw, r1.xyzx, t5.xyzw, s6, l(0)
sample_l(texture3d)(float,float,float,float) r14.xyzw, r1.xyzx, t6.xyzw, s6, l(0)
sample_l(texture3d)(float,float,float,float) r1.xyzw, r1.xyzx, t7.xyzw, s6, l(0)
mul r13.xyz, r4.xyzx, l(-1.023326, -1.023326, -1.023326, 0.000000)
mov r13.w, l(0.886226)
dp4 r12.x, r13.xyzw, r12.xyzw
dp4 r12.z, r13.xyzw, r1.xyzw
dp4 r12.y, r13.xyzw, r14.xyzw
You are looking at vector normalization:
dp3 r3.z, r2.xyzx, r2.xyzx
rsq r3.z, r3.z
mul r4.xyz, r2.xyzx, r3.zzzz
References
[2]Cascaded Light Propagation Volumes for Real-Time Indirect Illumination
[3]Diffuse global illumination with temporally coherent LPV
[4]Tatarchuk: Irradiance Volumes
[5]Light Propagation Volumes in CryEngine 3
[8]Yuriy O’Donnell: Precomputed Global Illumination in Frostbite
[9]Joe “EarthQuake” Wilson: PHYSICALLY-BASED RENDERING, AND YOU CAN TOO!
[10]Volumetric lighting implementations in games
[11]Ángel Ortiz: A Primer On Efficient Rendering Algorithms & Clustered Shading.
[12]Deferred Shading in S.T.A.L.K.E.R.
[13]DX11 Effects in Metro 2033: The Last Refuge
Comments
New blog post: Metro Exodus Frame Breakdown https://t.co/gEjFBzLDnI
— Anton Schreiner (@kokoronomagnet) August 12, 2019
Metro Exodus Frame Breakdown from r/GraphicsProgramming